This post explains how to enable the Associated Sites feature for your YouTube.com channel. Back in the day, you could not assign links to external sites from your YouTube videos. Now you can do it with the help of the Associated Website Annotations feature. Though you still can’t assign a link to ANY site, you can set links pointing to your site if you verified ownership for your site. With that in mind, it’s a very powerful tool because now you can just drive users from your YouTube videos (before they jump over to other vids) to your products’ or services’ landing pages. With the right incentive, this approach can work wonders before you know it.
The Associated Website Annotations Feature
You can just check the official help page. In case you prefer a more custom approach and a custom video about it, keep on reading or scroll to the very bottom to check out the video.
Firstly Verify
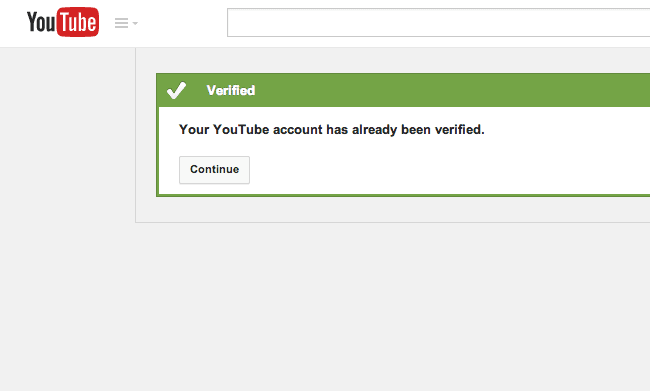
Before you have the option to enable the feature, you need to make sure that your YouTube account is in good standing (no copyright violations, etc) and it’s verified. In case it’s not or you’re not sure if it is, just follow the link. If your YouTube account is verified, you should see the following message:
Secondly Claim Ownership
Now that your YouTube channel is verified and in good standing, you need to add your site in Google Webmaster Tools. You can do it at this link. If you’re not exactly sure how to go about doing that, watch this video.
Thirdly Enable Associated Website Annotations
Once the above-mentioned has been done, you can go ahead and finally enable the Associated Website Annotations feature for your YouTube channel. Here’s the routine that you need to follow:
- Go to your YouTube channel
- Click Video Manager
- Expand your Channel drop down menu
- Select Advanced
- Scroll down to the Associated Website section and type your site URL in the text field
- Click the Add button
- Now it should say “Success” in green
- Click the Save button in the lower right-hand corner
- Now you should see the “Your changes were saved message” at the top of your page
- Go to your channel videos again
- Find the video that you want to link out from
- Expand the drop down menu by clicking the down arrow and select Annotations
- Now you should see the following message “Enable your account for external annotation links”
- Click Enable
- Click the “I accept” button
- Now you should see a message saying that you’ve enabled the feature successfully
At this point, you can create an annotation the regular way, but this time around you should be able to actually assign an external link to your site. In case you’re not sure how to do that, be sure to watch the video below. It both shows the above-explained in video format and demonstrates how to add an external link to your annotation.
Bottom Line
As you could see for yourself, investing 10-15 minutes into enabling the Associated Website Annotations feature allows you to drive targeted traffic directly to your relevant landing pages. You especially want to do that if you competition is already using the benefit of the feature.
Did you personally have any success with driving traffic from your YouTube videos to landing pages? If so, please share your experience in the comments.