Have you ever dreamed to be able to run your blog right on the go? I betcha have! Guess what? WordPress on Android is possible! You can do it now. Yes, you can. And no, I’m not Obama. 🙂 And I’m also not tripping. As a matter of fact, you can just head to Google Play (the former Android Market) and download the WordPress app right from there. The installation procedure is the standard one, so I’m not gonna dwell on that.
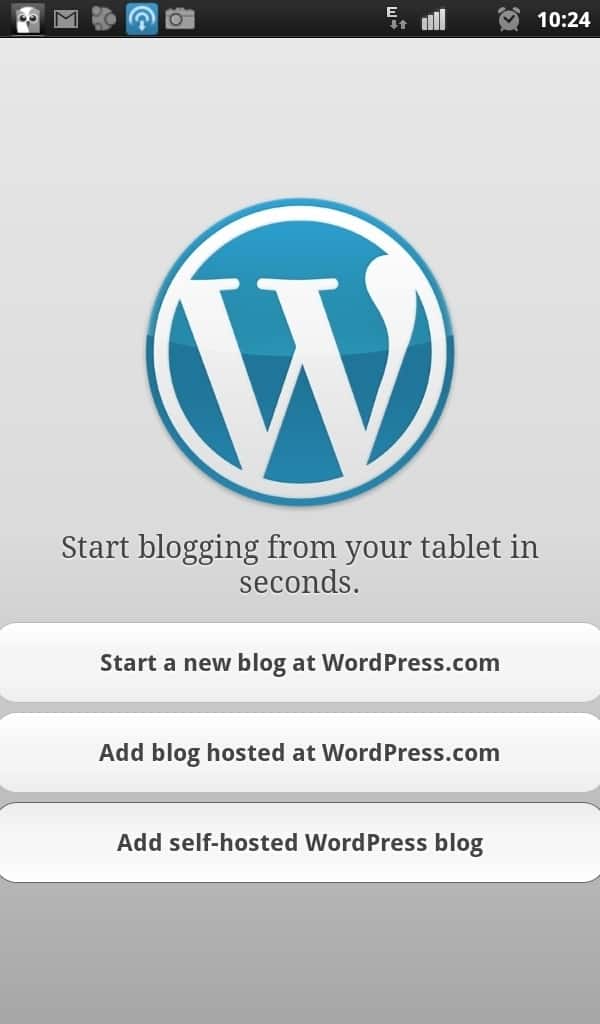
Having installed it, you just need to click on its icon to launch the app (duh!). Now, you’ll see the agreement screen, just accept whatever they offer you there 🙂 That done, you’ll have the following options that allow you to get your WordPress on Android:
- Start a new blog at WordPress.com. I can’t believe, but it’s actually true. You can start a brand new blog right from your smart phone or tab;
- Add blog hosted at WordPress.com. If you already have a blog at WordPress.com, you can use the feature in question;
- Add self-hosted WordPress blog.
Before we go any further, check out this promo video that explains why WordPress on Android is really cool.
Now you’ll get to know how to use each of those 3 options from the image above.
Start a new blog at WordPress.com
Note: you need to use the option in case you don’t have a WordPress.com account as of now.
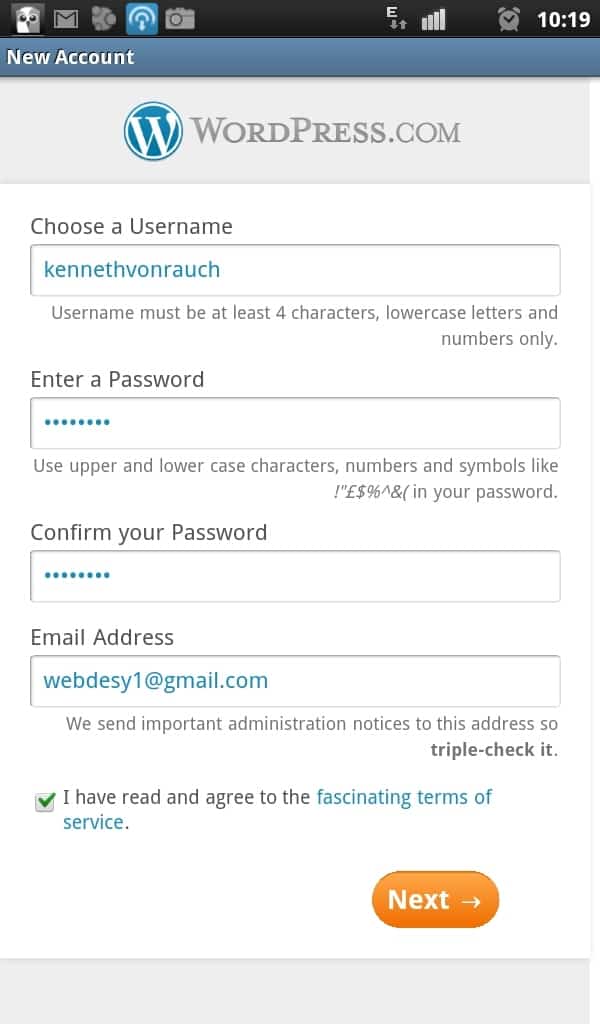
Having clicked on the button with the same name as the title of the section, you should do the following:
- Choose a Username;
- Enter a Password;
- Confirm your Password:
- Email Address;
- Tick the checkbox, which certifies your agreement to the fascinating terms of services 🙂
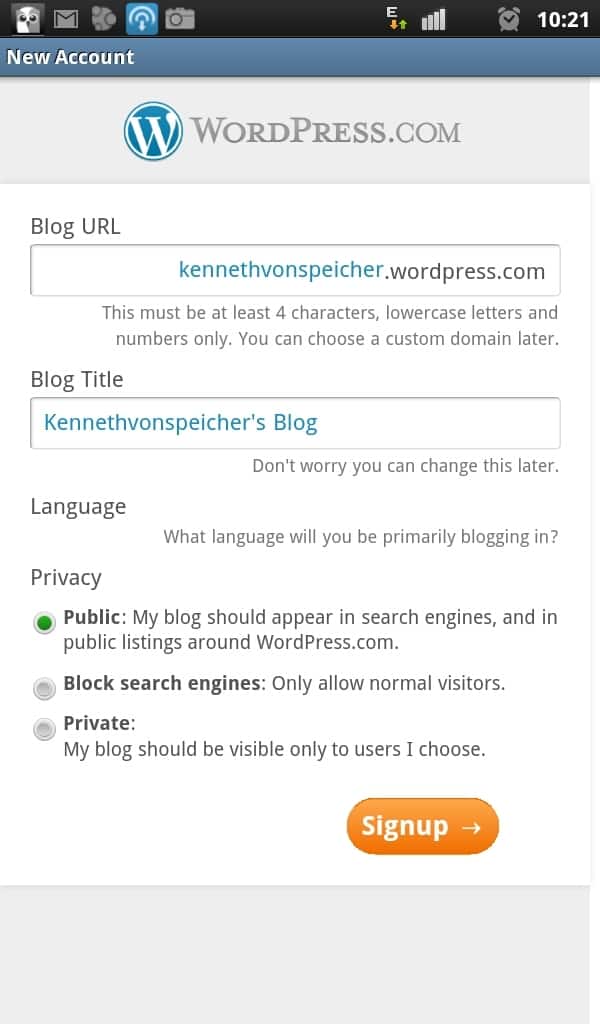
With that done, you can just click the big orange Next button. Now you should be redirected to the next screen where you can:
- specify your blog URL;
- blog title;
- opt for the privacy type you feel most comfortable with. I recommend the default one – public.
Now just click the “sign-up” button. At this point, you can just go to your email inbox and click on the blog activation link that WordPress.com just sent you.
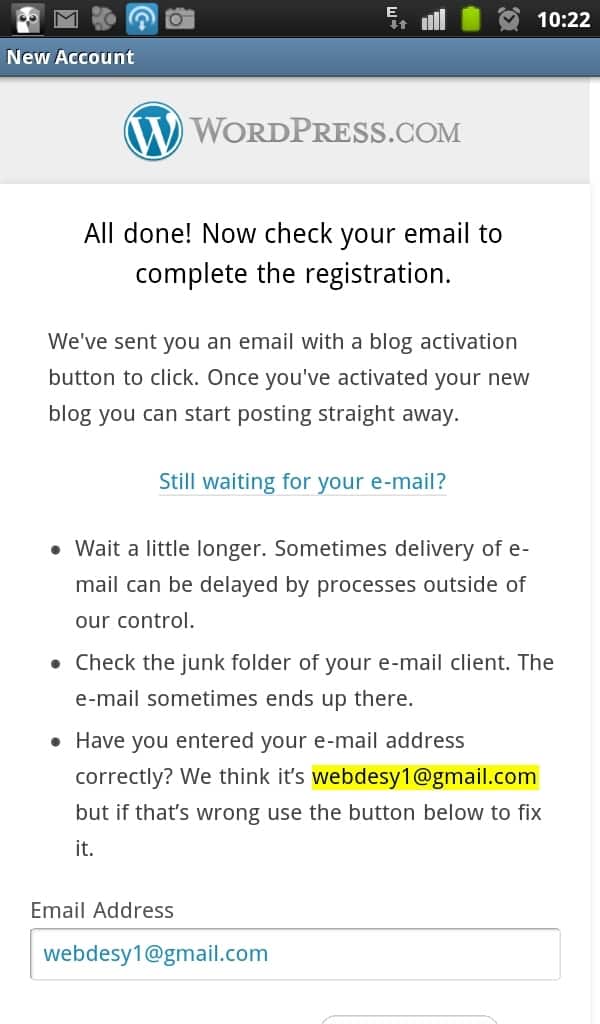
That done, you can use the following option to just add your brand new blog to the app’s blog list.
Add blog hosted at WordPress.com
You are supposed to use the feature in case you already have a blog with WordPress.com (you can get one just like we did above) but you just want to access it from your Android device.
In order to do that, just specify your username and password in the appropriate text fields.
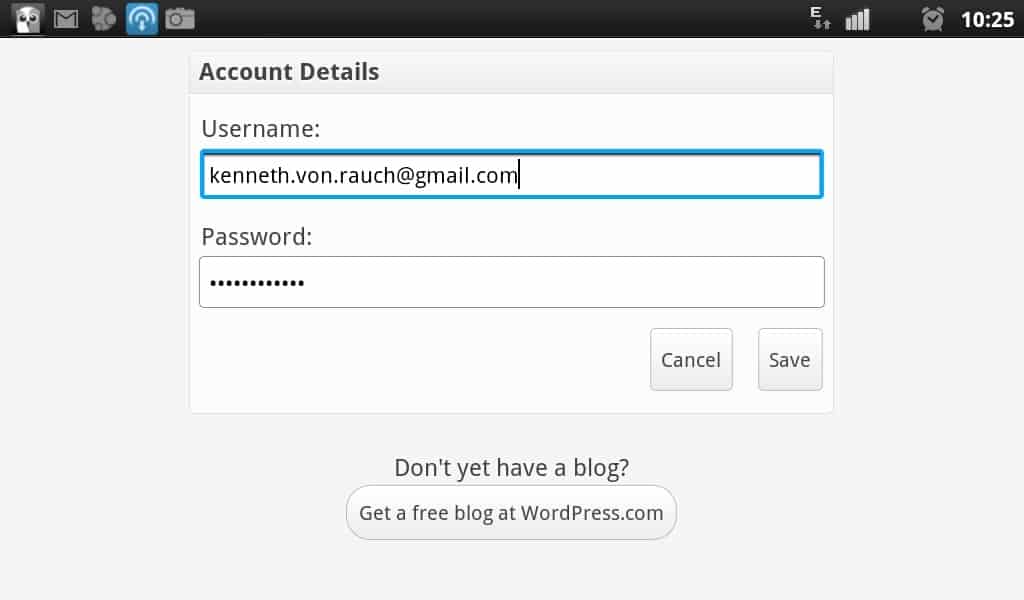
Afterwards just click the save button and (if you have a few blogs created under the specified account) you’ll be prompted to select the blogs that you want to access from your device.
Add self-hosted WordPress blog
If you run a stand-alone WordPress blog (on your own server), you can get connected to it as well.
Note: you need to do one extra thing so that you can access your self-hosted blog on the go. First off, go to your admin panel when on your desktop computer or laptop, select Settings -> Writing. Now tick the checkbox across the XML-RPC option. You should see the following text after the checkbox – “Enable the WordPress, Movable Type, MetaWeblog and Blogger XML-RPC publishing protocols.”

With that done, return to your Android device and just specify your:
- Blog URL;
- Username;
- Password.
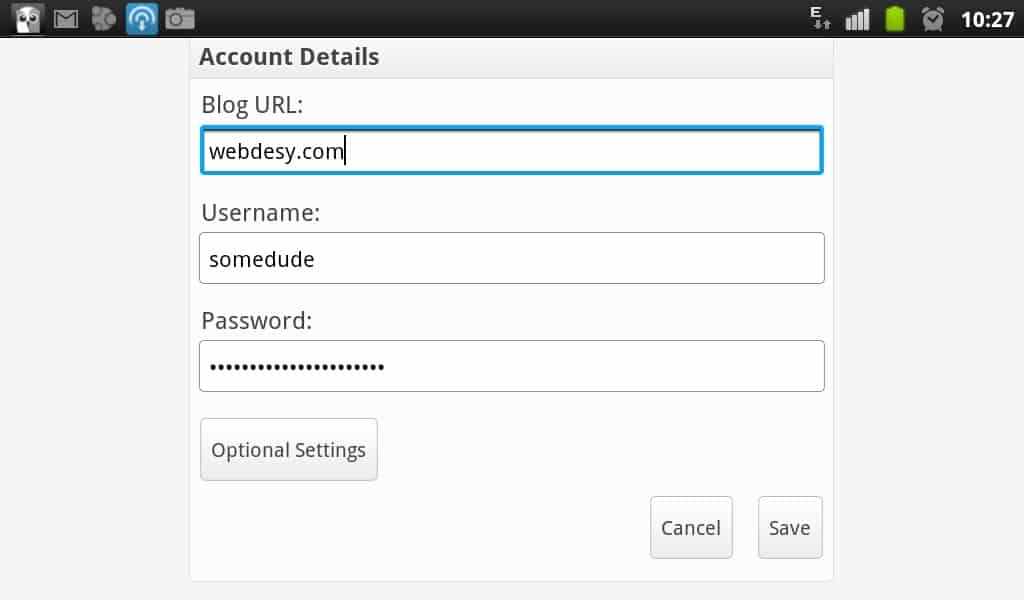
The admin panel features
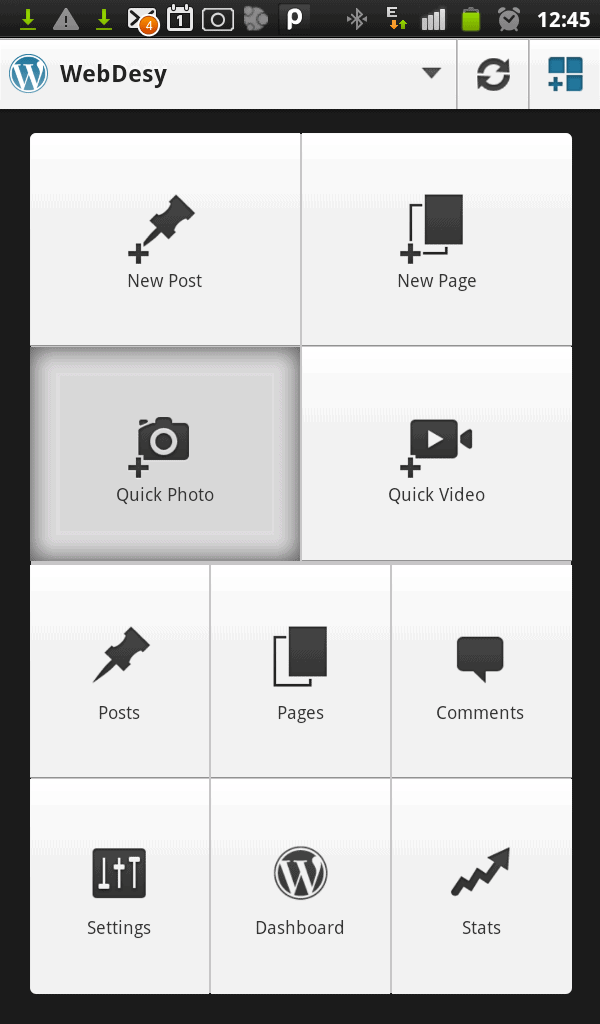
Once you login to your blog with the help of the WordPress app, you’ll see the following interface.
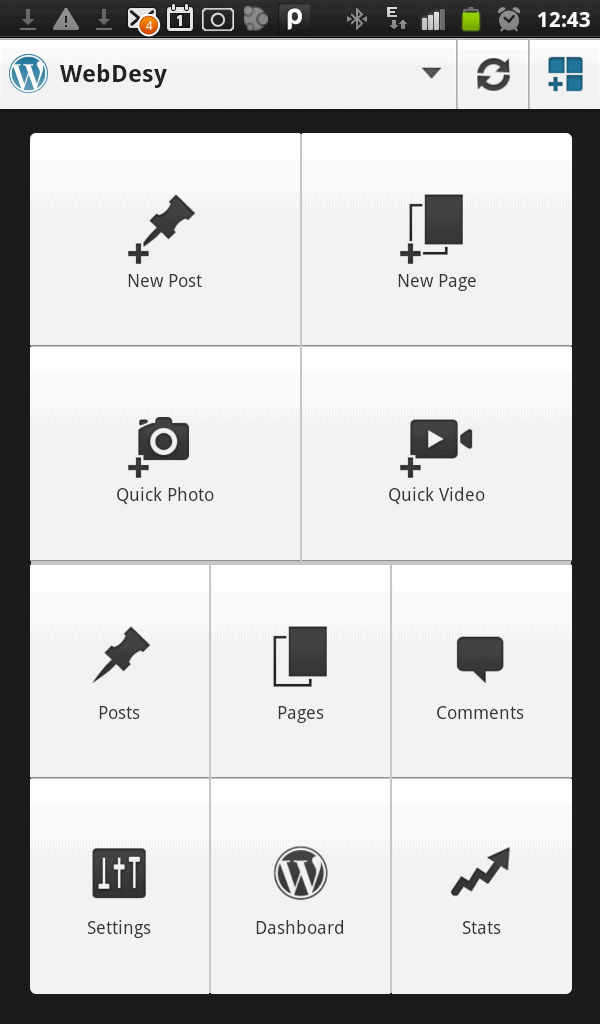
At the very top, you should see the name of the blog that you can manage at the moment. If you need to select a different blog, just click on its name (in this case it says WebDesy), and select the blog that you’d like to work with from the drop-down menu.
On the right of the blog name, you can see the refresh button. You need to click it if you want to sync your app with your actual blog (like load new blog comments and stuff like that).
Now let’s lake a looksie at the other options you can make use of.
Adding a New Post
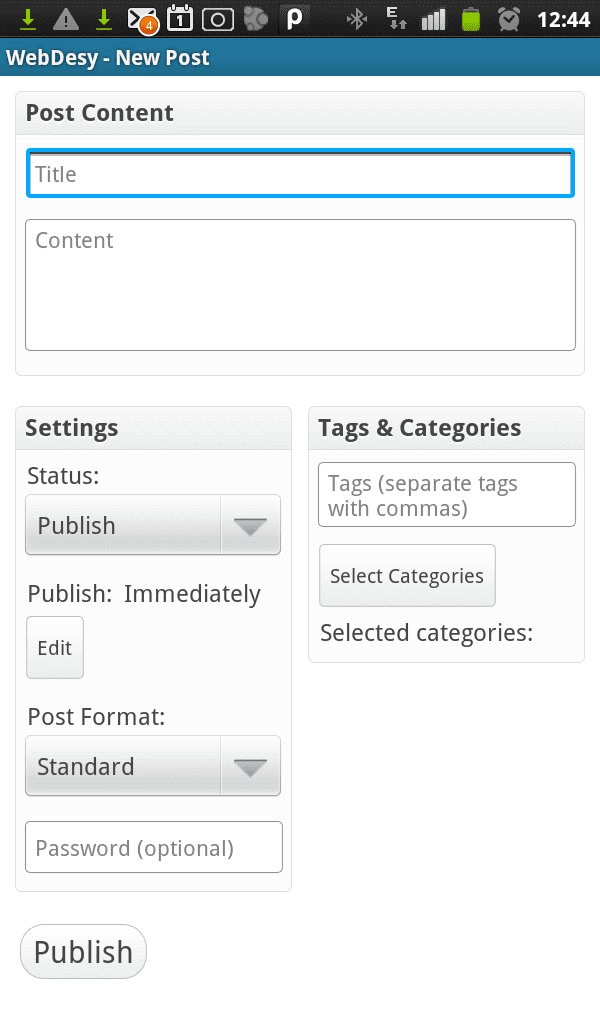
Just click on the New Post large button at the upper left corner of the main admin screen. The new post interface includes the following options:
- title;
- content;
- settings (you can change your post’s status, edit its publish date, specify its post format, and set the password if necessary);
- tags & categories (you can specify tags and choose categories using the option);
- publish (this button allows you to publish your post).
Creating a New Page
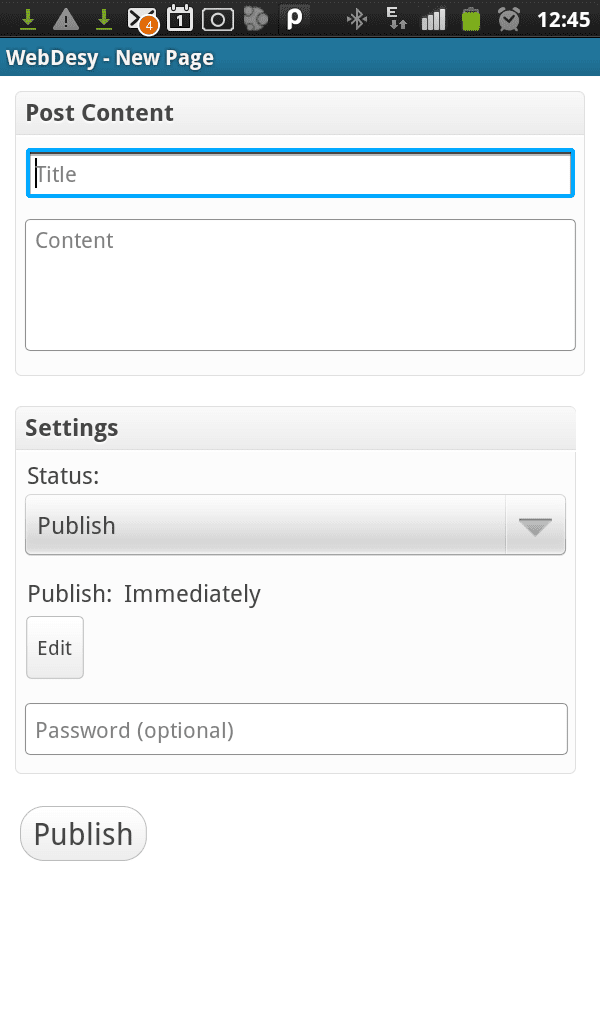
You can also create a new page with the Android WordPress app. You should click on the New Page option while you’re on the main screen. You can:
- add your page name;
- add your page content;
- specify the settings for your new page (status and password protection if necessary);
- publish your new page.
Adding an Image
In case you’d like to add an image to your post, it’s really easy to do because you can just select the Quick Photo option.
And take a photo of the object or person you need in your new post. Having taken your brand new photo, you’ll be prompted to either save it (if you’re happy with the result) or just discard it. When you click “Save”, the new post interface will pop-up where you can specify your post’s name, add some accompanying text to your photo (if you wish so), specify tags, choose your category, and publish. Really simple and convenient. The only problem that I have with the feature is that I can’t actually edit the image just using the WordPress app.
Adding video
Along with being able to add photos to your post, you can also add a video. Just click on the appropriate large “Quick Video” button. Your build-in camcorder will fire up and you’ll be able to shoot your video. When you’re ready, just stop your video shooting, it’ll ask whether you want to save it or cancel. Just save it for now. It’ll automagically create a new post and insert your new video right in there.
You can publish it the same way as with a photo, but keep in mind that if you shoot long footage, you may need to shell out for uploading it to your WordPress via mobile Internet connection. So, you might want to wait till you have WiFi within your phone’s reach so that you can do that in a cost efficient way.
Posts
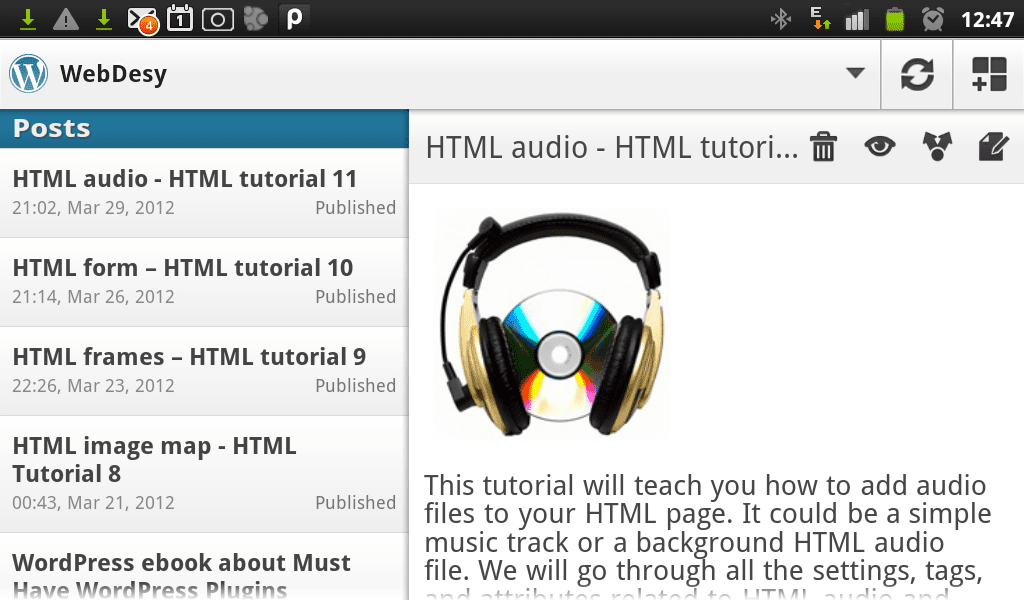
You can use the option if you want to manage some posts on your blog. You can do the following with your posts:
- Delete;
- View;
- Share;
- Edit.
Pages
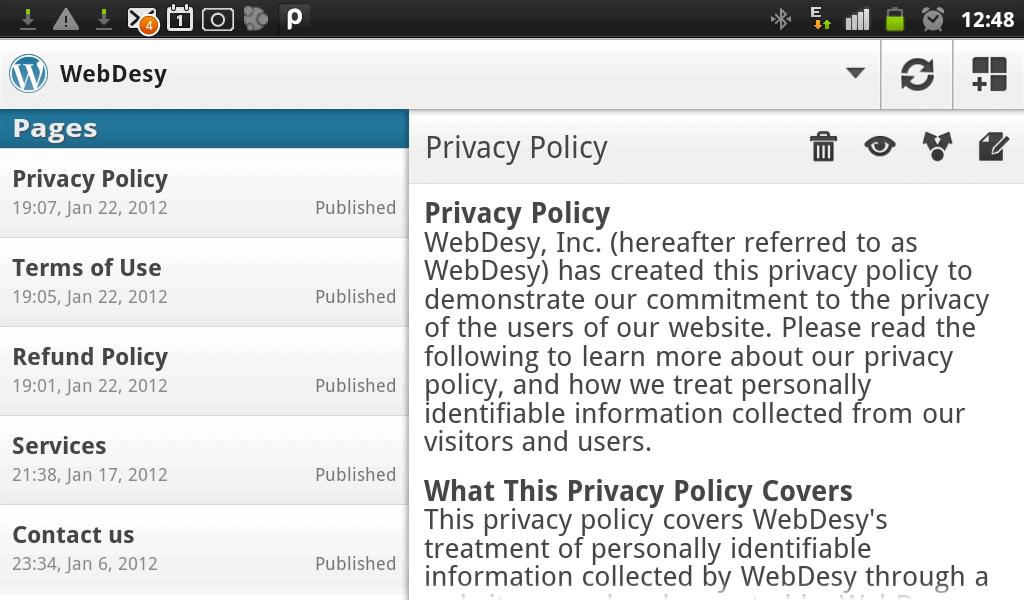
You can perform the same operations with your pages, just like with posts.
Comments
Like I said above, the app is really feature-rich and it even allows you to manage comments on your blog.
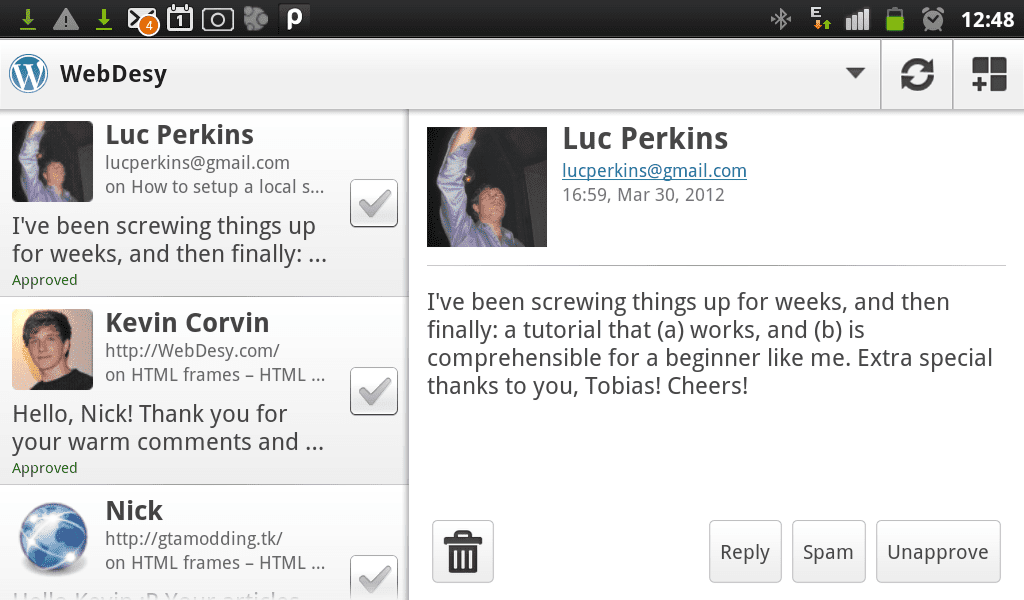
The comments’ options allow you to:
- Delete a comment;
- Reply to a comment;
- Spam (mark some comments as spam);
- Unapprove a comment.
Settings
The options there allow you to:
- change your user name;
- change your password;
- specify your HTTP Username (optional);
- specify your HTTP Password (optional);
- in the Media section, you can specify the default image width, tick the checkbox to upload an image and link to its full version;
- the “Location” section has one single checkbox that enables using geotags for your posts.
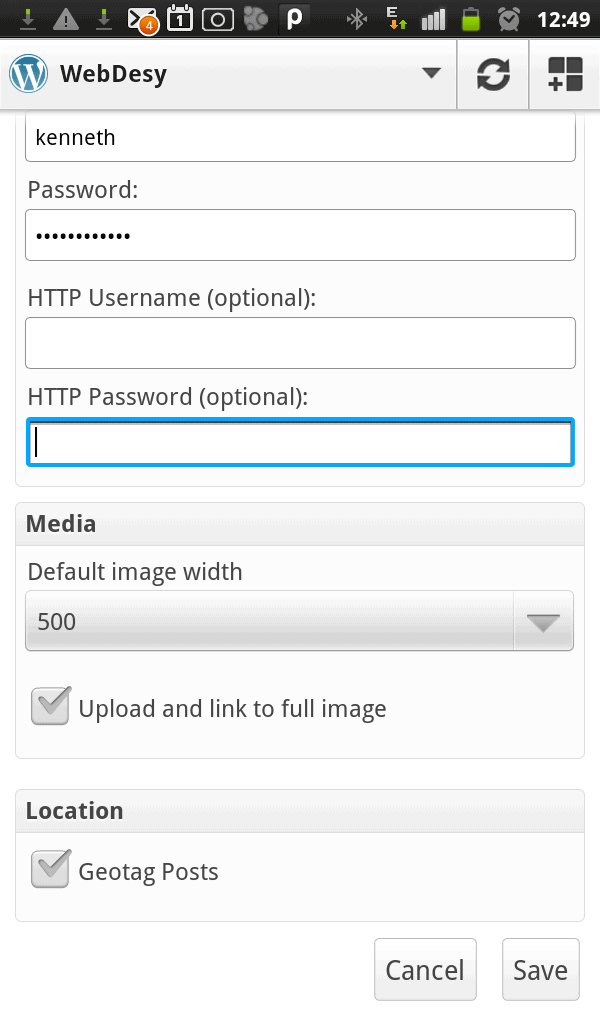
And at the very bottom you have two important buttons, Cancel or Save.
The Dashboard
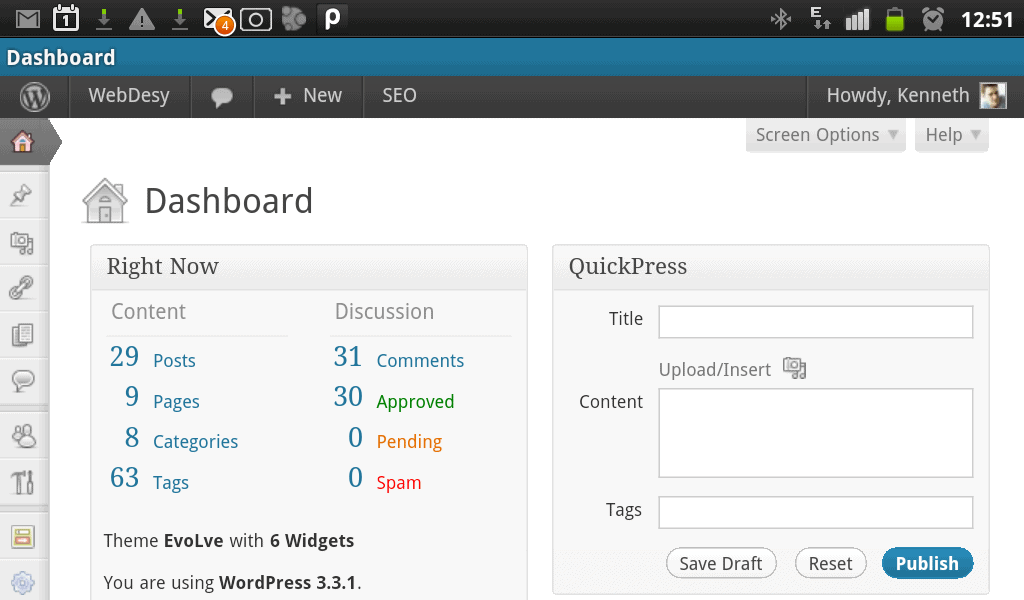
This option allows you to access your blog’s admin panel as it looks on your desktop PC, but in a smaller format. You might want to use the option if you need to use an option that is not available in the features I mentioned above. Based on my experience and guesswork 🙂 , I can say that it’s OK to use the Dashboard feature if you’re on a tab, but it’s not that convenient in case you’re using a smart phone. Just FYI.
Stats
And the last option in the app would be stats.
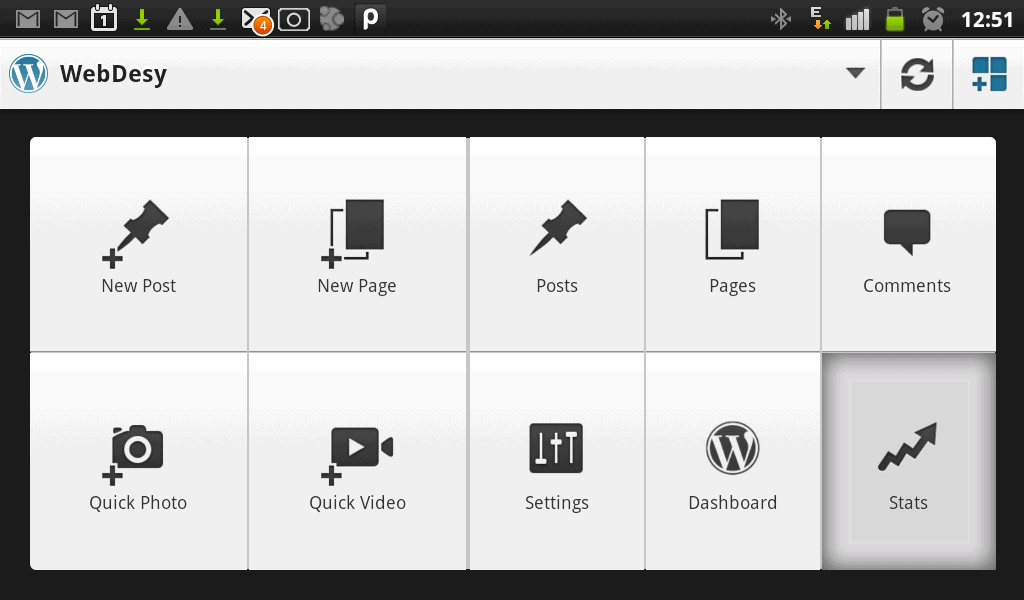
So, you can even monitor your traffic and other SEO parameters using the app only.
In conclusion
I’ve been managing my WordPress on Android for like half a year now and I godda say that it’s good enough if you need to manage your blog on the go from time to time. I mean, I’d not push the envelope to use the app all the time, but you definitely will find it useful for updating your blog while traveling and cases like that. You can easily type text while creating a new post or page, even if you’re in a bus on a bumpy road. Just make sure that you’re not driving. 🙂
So, what do you think about the app and its features?


