Though you’re not supposed to go totally SEO crazy while writing a blog post because it can backfire, you still need to make sure that you keep track of really important aspects of your blog posts at all times. This post will walk you through the process that I stick to when I add content to the blog. Writing a blog post is not all about search engine optimization. Think about your reader first and foremost. Before you go any further, you need to make sure that your post looks great. Plus you want your blog post to be easy to understand and navigate. So, your site will become user friendly only if you keep all its components in check.
Headline
You need to make sure that you use your keyword in the headline of your post. For example, the keyword of the post you’re currently reading is “writing a blog post”. As you can see, it’s in the headline of the current post. The text is inclosed between the <h1></h1> tags which means that it should be treated as a really crucial one.
Other than that, the headline text is used in the title tag of your post. If you look at the source code of your page, you’ll see it between thetags. In case you’re not in the know, the title of your page is the most important aspect of on-page SEO (along with the actual text of your article) in terms of where you need to use your keyword. So, as long as you use WordPress, you MUST mention your keyword in the headline because it also goes to the page title which is an on-page SEO game changer.
Note: you need to use the <h1></h1> tag once per page. Failing to do so will cause confusion for the major search engines out there.
Subheadings
Though it’s not that crucial, you still want to use your target keyword at least in one subheading. Other than that, your subheadings should be <h2> or lower. If your subheadings are <h1>, you should contact your designer and ask him to edit your WordPress theme to fix the issue. That’s because using multiple <h1></h1> tags is like giving multiple names to the same thing. That’s confusing both in terms of logic and – what is by a long shot more important – how search engines treat that sort of signals. As a rule of thumb, you want to use <h2> tags for subheadings.

Backlink to a Reputable Site
It makes perfect sense to link back to a reputable relevant site that has something to do with what your blog post is about. Truth be told, it usually happens in the usual way because you naturally refer to a well-known site in your post. Should it not be the case, you want to make that happen on purpose. As a rule of thumb, you can easily set a link to a Wikipedia.org article in pretty much every single post. That said, you still want to diversify your list of reputable sites that you want to link back to from your blog posts. You may want to consider Adobe.com, Apple.com, WordPress.org, just to name a few.
Writing a Blog Post With Proper Images
As you probably know, using images is a very important thing when it comes to writing a blog post of top-notch quality. Imagery and other rich content components became extremely important after the Panda Google update which is all about getting rid of thin content and focusing on putting together really useful posts that tackle topics properly and profound enough.
Thumbnail
You need to use a thumbnail image that hints what your blog post is going to be about. You may want to use a small thumbnail (150×150) in the very beginning of your post. It should be left-aligned for better user friendliness. Since an image with such size does not occupy the whole content width of your site, you need to use some relevant text which contains your keyword and hooks up the reader so that he or she keeps on reading your post. In the specific case of WebDesy.com, you want to use about 6 lines of text (font size 11 if you’re writing your blog post in Google Docs). I’m not exactly sure about the amount of lines in other word processors, but it should be something along those lines.
Full-Size Images
Other than left-aligned thumbnails, you also want to spice your posts with full-size images that are relevant to the subject of your blog post. If it’s a step-by-step tutorial, you can just make screenshots that help you walk the reader step-by-step through the whole process. If it’s not the case, you can just use images that somehow make sense in the context of what your article is about.
Image Size
You may be tempted to use images “as is” which means without adjusting the dimensions (width and height) of your images before uploading them to your WordPress dashboard. That definitely can look absolutely innocent, but the reality is that doing so may clutter up your database and make your site slower. As a rule of thumb, you need to modify your images before you upload them to the Web so that they have specifically the width and height that you need for your blog. Doing so will ensure that you keep your WordPress site performance as snappy as possible. Basically, that’s exactly when your Photoshop skills can come in really handy. Speaking of which …
Image File Type
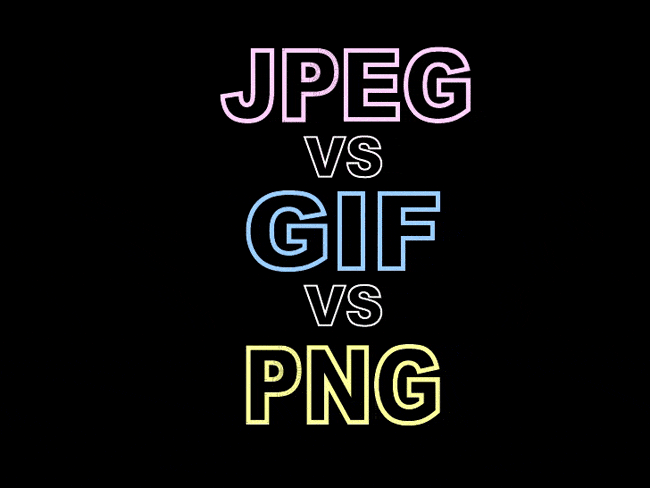
Other than making sure that you use the right dimensions for your image, you should also keep an eye on image file formats, such as .GIF, .JPEG, and .PNG.

Now let’s see what’s the difference between the formats:
.GIF
You want to use a .GIF file format for logos and other graphics with solid color areas. What’s more, the image file format also supports simple transparency. At the same time, it’s not a good format for images with lots of details, like photos, gradients and stuff like that.
.JPEG
The .jpeg image format allows you to store a deluge of colors. Plus the file size of your image stays pretty lightweight. On the dark side, the image file format does not support transparency and it’s a lossy format. That means every time you edit the image in Photoshop and save it, your image loses quality every time you do so – quite drastically.
.PNG
And if you’re Ok with a ..GIF image, but it’s just missing some features, you most likely should go for ..PNG because it also supports transparency (more advanced than ..GIF though because now you can create semi-transparent areas) and it’s a lossless file format (unlike .JPEG), which means that it won’t lose quality if you edit and save if for multiple times. Being lossless, your .PNG images will be heavier that .JPEG ones.
Video
Along with images, you absolutely need to use relevant videos. Sure thing, you should preferably use your own videos, but if the ideal scenario is not possible, you need to at least make sure that the video you add to your post is of decent quality and to the point. The good news is that you can really find videos just about everything if you go to YouTube.com. In case you decided to take the plunge and actually create your own video, you can just make an on-screen demonstration with the help of ScreenFlow or Camtasia Studio.
Conclusion
Writing your blog post, be sure to draw a conclusion at the very end so that the reader can easily figure out or just refresh the main idea of your whole blog post. Your conclusion is not supposed to be a huge one. Truth be told, you just need to repeat your main idea in a few sentences if any. That allows the reader to make sure that he or she got your point right.
Asking a question in the very end of your blog post is a good idea because it’s a great incentive for igniting comments about the topic of your blog post. You can always just ask what people think about the subject and if they have something that they’d like to share based on their experience or assumptions. For instance, I’m asking you what else you’d suggest me doing in every blog post on WebDesy.com?


