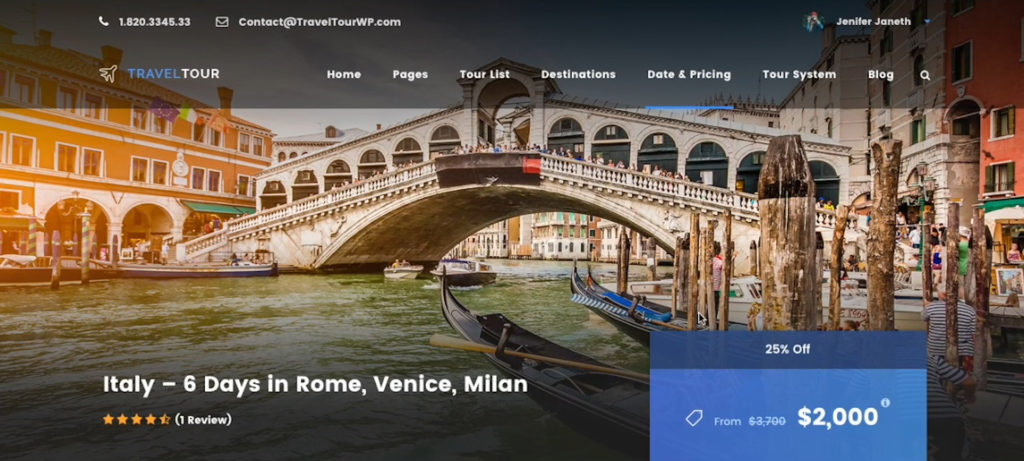
Travel Tour is a special WordPress theme that allows you to get the dashboard that is perfectly suitable to the needs of the tour industry. You can check out the video below to get a quick idea about what you can do with the theme.
Quick Travel Tour Theme Video Review
And now a few screenshots and text from the video above.
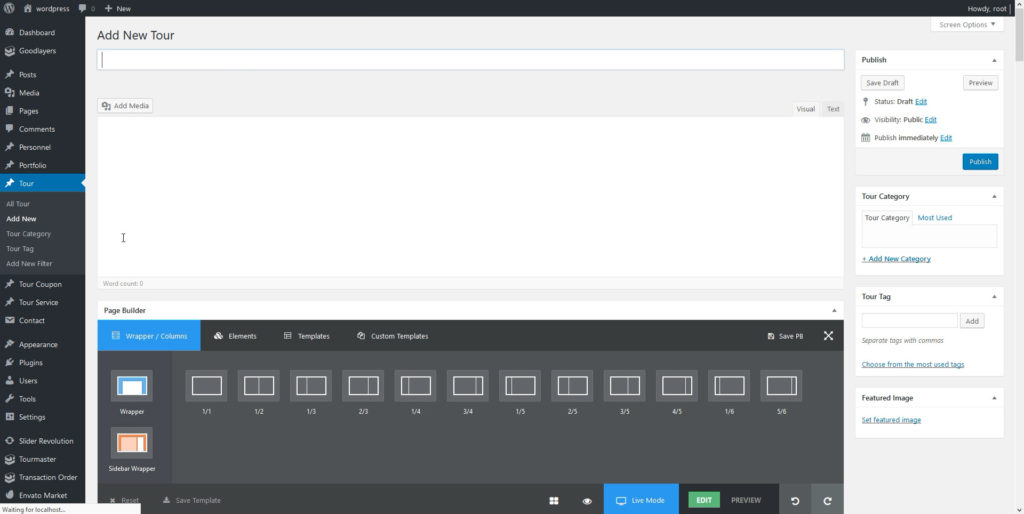
How to Easily Create Tour with the Travel Tour Theme
Setting the Parameters
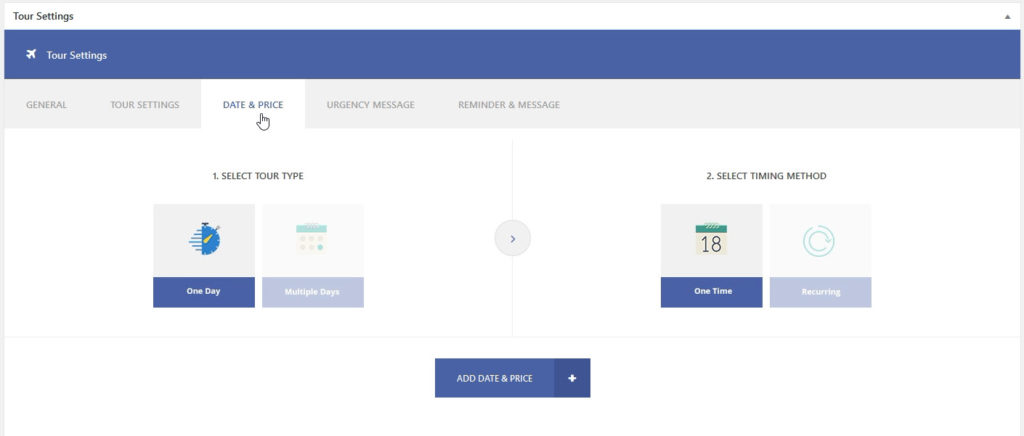
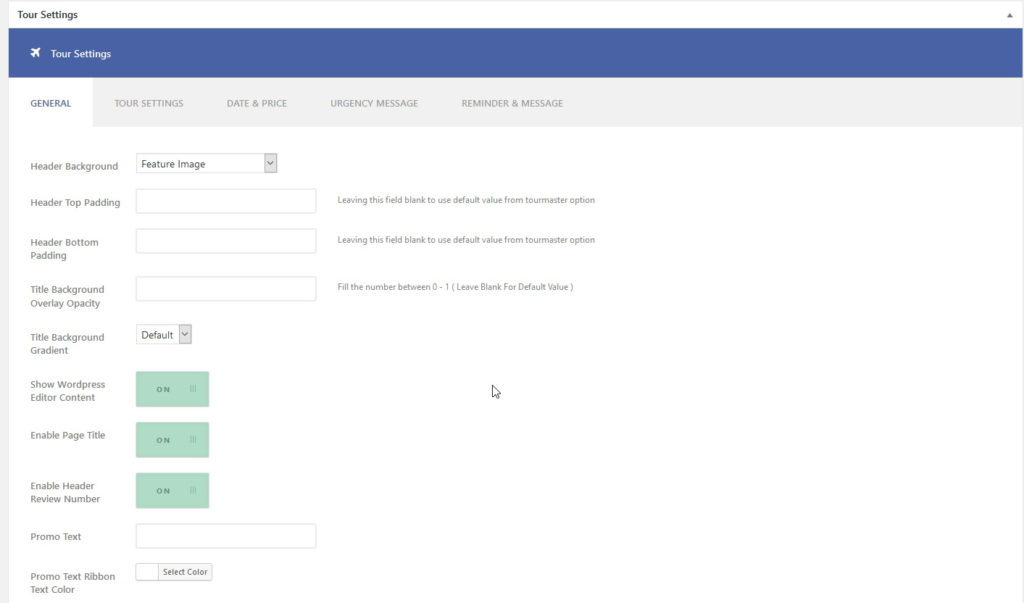
At the bottom of the page, you’ll see the tour settings section. You can set the tour type/date/price at the “DATE & PRICE” tab. You can set an extra tour information at “TOUR SETTINGS” tab, such as one day, multiple days, recurring, one time, room-based pricing and so on.
Variable Prices
As for the prices, you can set not only a fixed price for the tour but also a seasonal one. Other than that, a ‘Group’ discount can be enabled in the single tour setting > Date & Price.
Making Customize Search
Make the searching for users as comfortable as possible by customizing searching filters. Go to Tour > Add New Filter and then create a new filter. You can assign your tours to a new filter in the single tour editor page. Then you can also enable the filter in the search bar from search item setting(page builder).

Custom package
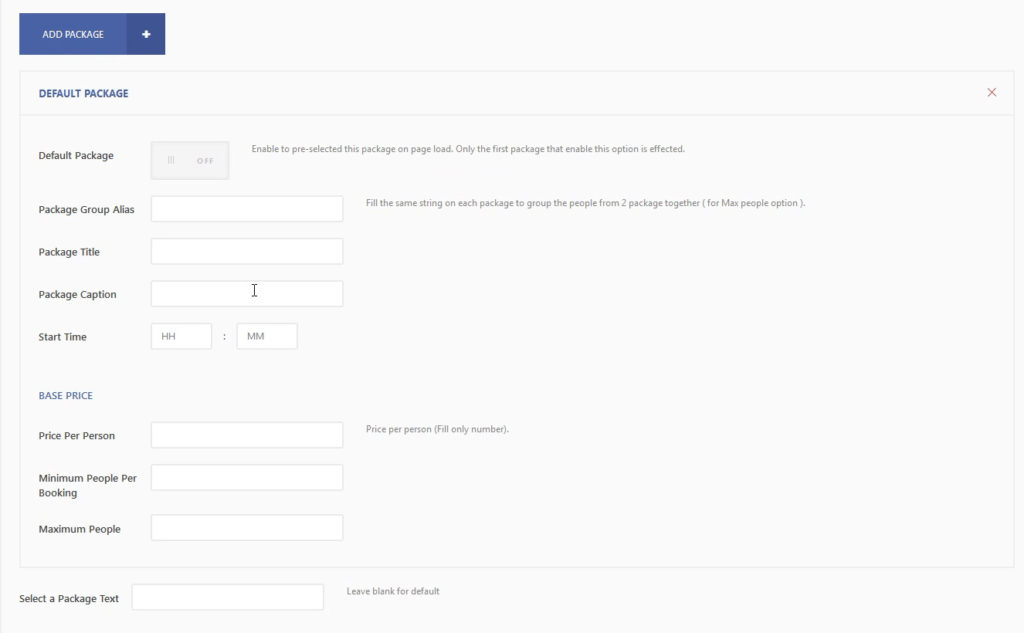
In the tour settings, you can find Creating Custom Package options, where you can set all the parameters like title, caption, base price etc to be used in many circumstances.
Tourmaster Tab
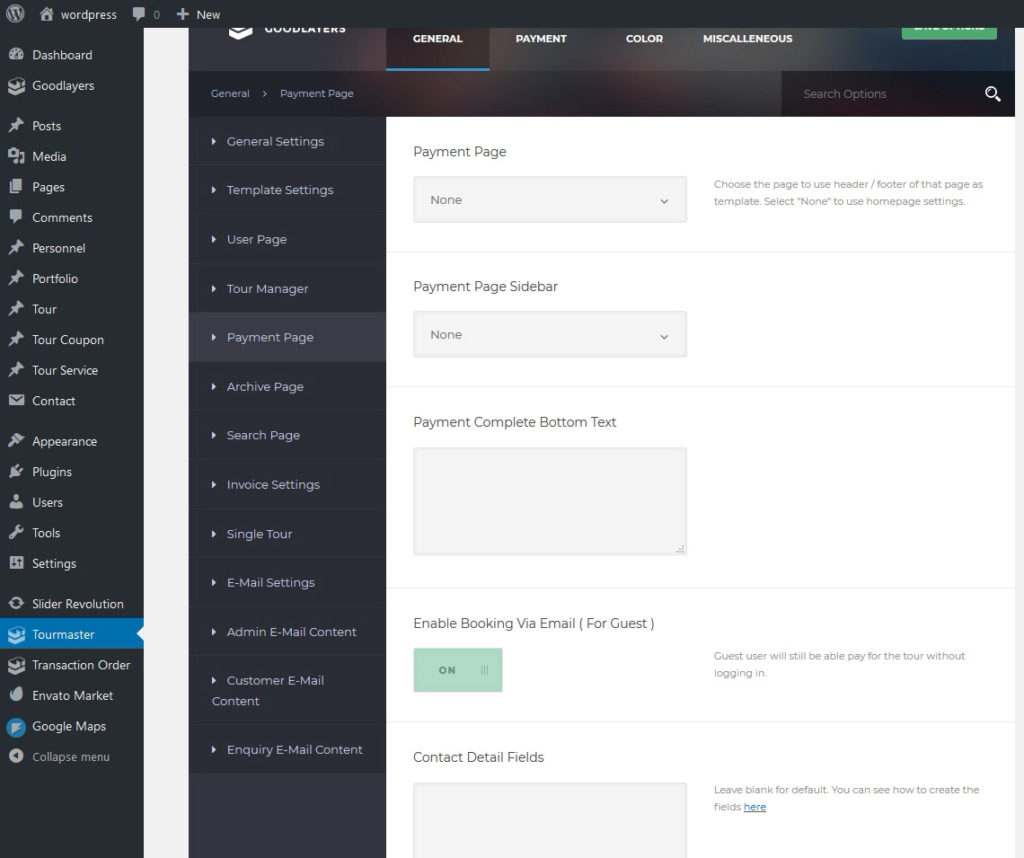
All the transaction can be easily set up in the Tourmaster tab. Go to “Tourmaster Plugin Option > General > Payment Page” to set up your payment template and sidebar. At “Payment > Payment Settings Tab”, select the payment method you want. You can learn more about how to obtain the payment API key in the next section.
The ‘Deposit’ payment can be configured in Tour Master option. Payments and also the feature that allows a customer to upload payment receipt and admin will be able to approve or reject (for manual money transfer purpose.) You can find features like ‘approve’, ‘cancel’, ‘reject’ and so on in the ‘Tourmaster’ tab.
Creating Login and Registration Page
You also need to set your ‘Creating Login/Registration’ page. First, you have to create two blank pages (‘Login’ page and ‘Register’ page in this case.) Go to the ‘Tour Master’ option > ‘Template Setting’ and choose your pages. In case you need setting up a social login you have to install the ‘Next End Social Login’ plugin.

Nextend Social Login
Nextend Social Login is a professional, easy to use and free WordPress plugin that lets your visitors register and login to your site using their social profiles instead of forcing them to spend valuable time to fill out the registration form.
They don’t need to wait for validation emails or keep track of their username and password. You can install Nextend Social Login through Plugins > Add New interface. Just search for the plugin’s name, then hit ‘Install’ and ‘Activate’.

Customer’s Dashboard
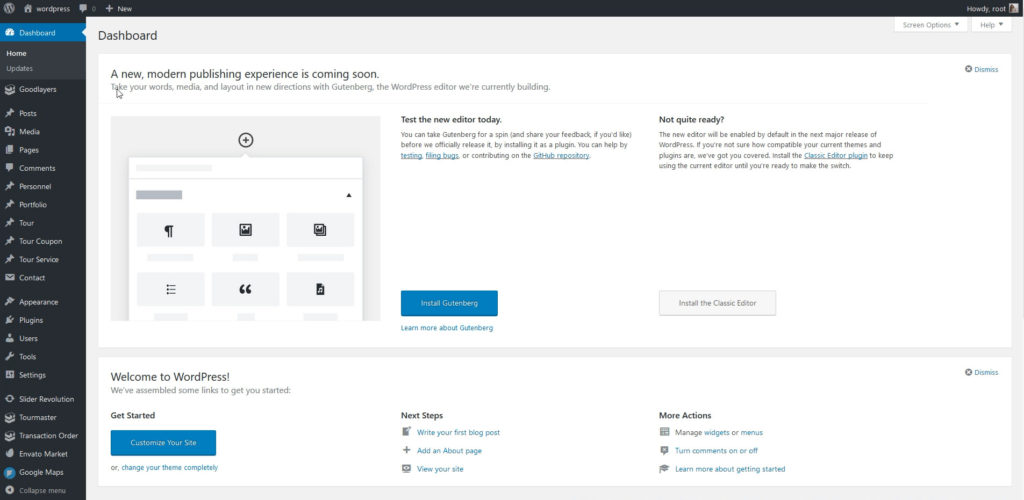
As a result of creating a site with this theme, you are getting comfortable to use the customer’s dashboard that specially created for the tour industry. Just take a look at the tabs where you can perform all that you need to manage the users’ activity like viewing booked tours, booking status, invoice, rating tour and so on.
This was just a short preview what is possible with Travel Tour Theme, many more settings are available to make your tour site extremely great.