Any htaccess SEO issue out there seems to be a pretty complicated one because the file usually has all sorts of coding which does not really make much sense if you’re new to regular expressions and programming in general. You can do a whole lot of things with the help of your .htaccess file. This post focuses specifically on redirecting your site visitors from a www address of your site to a non-www one. You’ll also learn how to do it the other way around. Which means redirecting from a www address to a non-www version of your website. It’s gonna be an htaccess SEO blast guys!
Elevate your programming skills with Nucamp’s Python and SQL Bootcamp.
What’s the deal with www or non-www?
Thing is, Google treats website addresses with www and without www as totally different sites. It may look a bit stupid (I’m still not exactly sure why Google does it), but that’s how things are at the time of the writing. And it doesn’t look that it’ll change any time soon. Since you have two sites, Google juice will be split between those two domains. From an SEO standpoint, that’s one of the main reasons why you need to set up a redirection. You can do it with the help of .htaccess.

The htaccess SEO Trick of Redirection
Even if you’ve never worked with .htaccess in your whole life, you’ll be able to configure your redirection. Before you get your hands dirty and actually modify your .htaccess file, you need to make sure that your FTP manager displays that sort of files. Thing is, your .htaccess file is considered to be a program one. That means it’s hidden by default in most FTP managers. If you use Cyberduck, here’s where you can find the option to enable the feature.
You just need to expand your View drop down menu and select the Show Hidden Files option.

Once you can see your .htaccess file, you want to download it to your hard drive for further modifications. Having downloaded the .htaccess file, you can open it with an HTML editor for editing. Now let’s get the ball rolling and get things redirected.
Redirect from WWW to non-WWW
If you need to redirect from the www version of your site to the non-www one, you need to add the following piece of coding in your .htaccess file.
RewriteCond %{HTTP_HOST} ^www\.example\.com
RewriteRule ^(.*)$ http://example.com/$1
For example, say, I want to redirect from http://www.webdesy.com/ to http://webdesy.com/ . My .htaccess file would look as follows:
RewriteCond %{HTTP_HOST} ^www\.webdesy\.com
RewriteRule ^(.*)$ http://webdesy.com/$1
Redirect from non-WWW to WWW
If you need to redirect from the non-www version of your domain to the www one, you need to use the following code:
RewriteCond %{HTTP_HOST} !^(.*)\.yourdomain\.com$
RewriteRule ^(.*)$ http://www.yourdomain.com/$1
If I wanted to do that with WebDesy.com, it would look as follows:
RewriteCond %{HTTP_HOST} !^(.*)\.webdesy\.com$
RewriteRule ^(.*)$ http://www.webdesy.com/$1
Make Sure Your Redirection Works
Now that you’ve done all the “paper work”, you want to make sure that your htaccess SEO trick actually works as it’s supposed to. In order to do that, you can just go to this tool and enter your URL address in the “Enter the URL” text field. And just hit the Check redirects button to see your result.
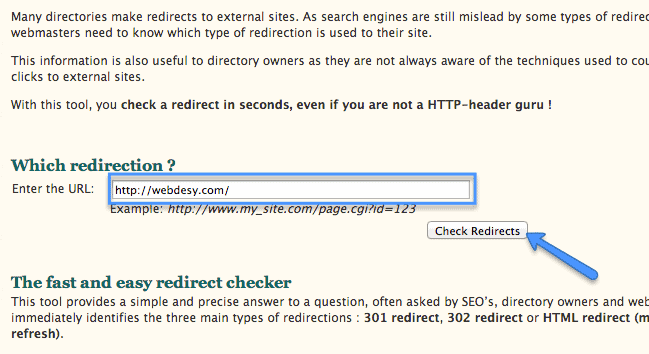
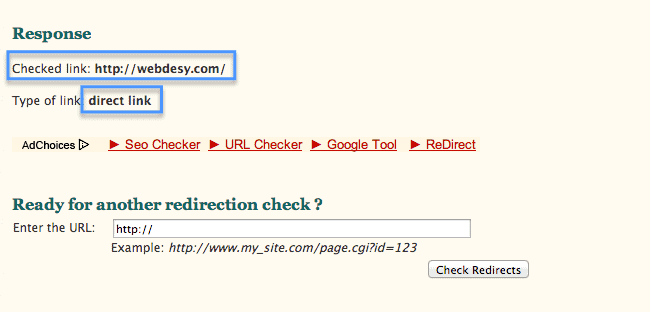
If you enter your URL that you redirect to, it’ll just say that it’s a direct link.
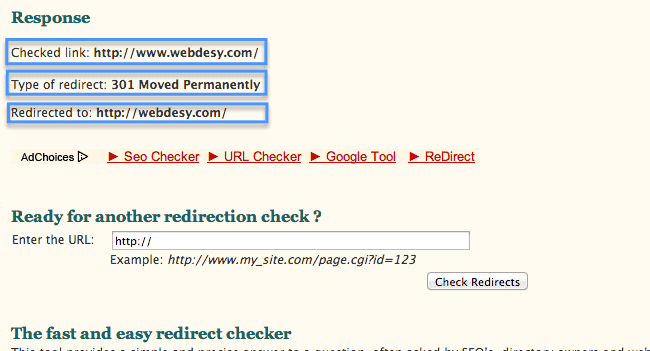
If you enter the URL you redirect from, you’ll get some data about the checked link,such as type of redirect, and the URL it redirects to.
Now, you’re done with proper configuring your redirects. Now all your link building efforts for the www and non-www versions of your site will add up to your general and united website reputation in either case.
Preferred Domain in Google Webmaster Tools
In order to make sure that your website is properly indexed by Google, you need to define which version of your domain (www or non-www) you want to use for that. If you don’t do that, you may even get a message from Webmaster Tools that your site is not indexed by Google. That’s a big issue because there’s no way to rank high under such circumstances because your site is pretty much non-existent for Google at this point.
Verifying Ownership of the Other Domain
You want to verify both versions of your domain name before you can set a preferred domain . Otherwise you just won’t be able to define your preferred domain. To verify that you own example.com or www.example.com, you need to go to the homepage of your Google Webmaster Tools account and click the Add a site button.
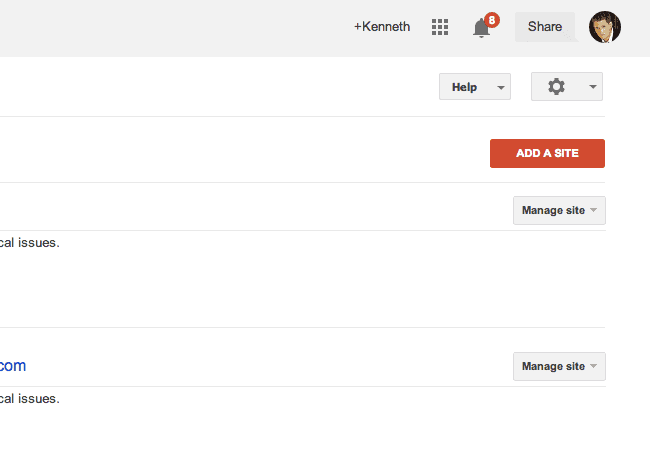
At this point, you just want to add the address of your site you need to verify and click the Continue button.
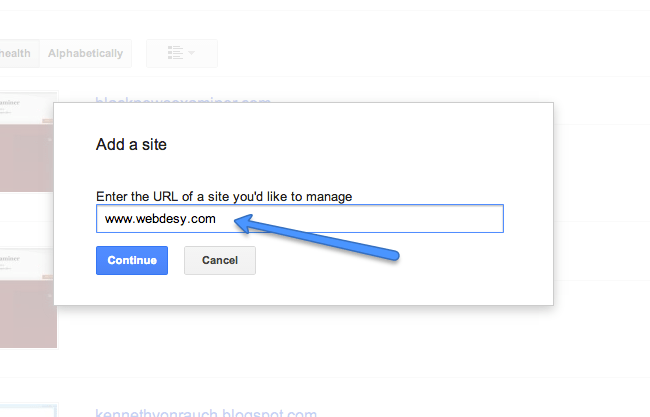
Now you can use one of the methods that Google Webmaster Tool offers you to verify your ownership. In case you already verified your other domain and the HTML file is still on your server, just click the Verify button.

If everything went well, you should see the following message by now.
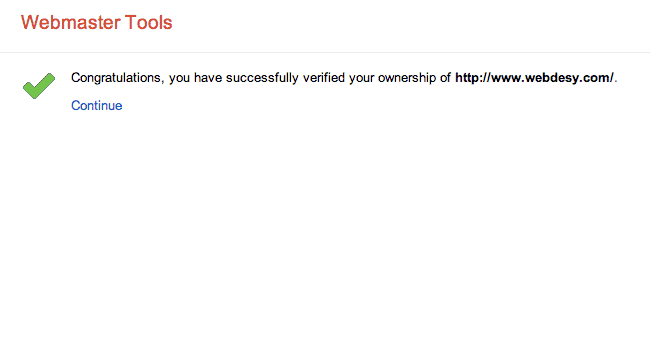
Having verified both your domains (www and non-www), you’re ready to tell Google Webmaster Tools which one you prefer.
Setting a Preferred Domain
1. You just need to go to you Google Webmaster Tools homepage and select the site you want.
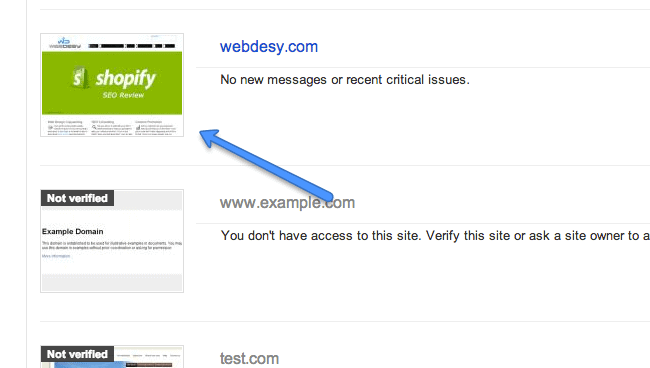
2. That done, click the gear icon to expand the drop down menu. Select Site Settings from it.
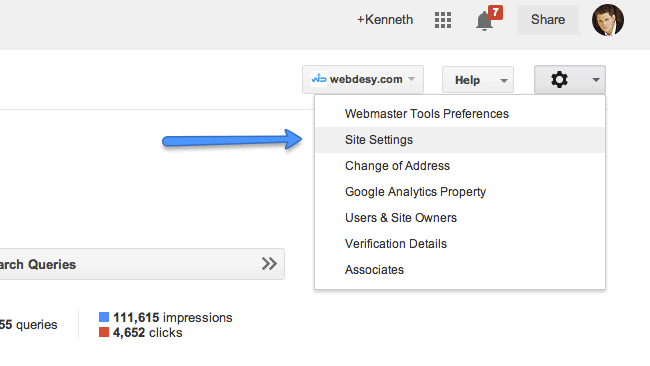
And just select your preferred domain.
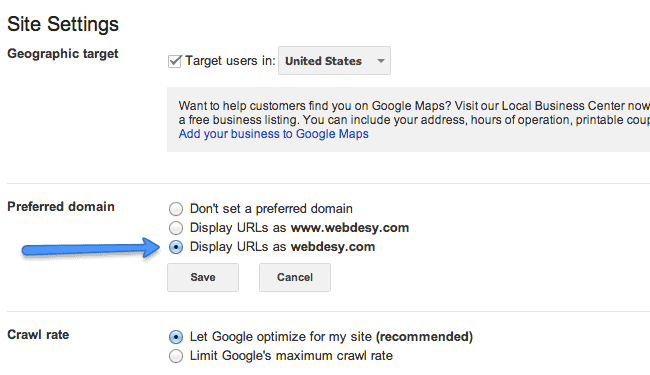
Be sure to check Google’s official page about preferred domains.
Useful Links
Here’s How to Keep 301 Redirects from Ruining Your SEO
Redirects: One Way to Make or Break Your Site Migration – Whiteboard Friday
Bottom Line
Though doing so-called htaccess SEO most likely looks hard and complicated, you can pretty effortlessly master all the tricks when it comes to search engine optimization. As you could see for yourself, redirecting to a preferred domain is something that even a person with no programming skills can easily do. That’s because it’s just copy-pasting from the right place to the new right place.
Which version do you use for your site (www or non-www)? What makes you think it’s the most optimal domain format for your website?


