Once you set up your WordPress blog and it’s up and running, you need to keep track of your WordPress performance in terms of traffic and other SEO related issues. There are lots of free and paid SEO tools out there, but they just can’t beat Google Webmaster Tools because it’s run by Google and it’s free. Plus, you need a Google Webmaster Tools account anyway coz you should specify certain settings for your site, such as your preferred domain, location, etc. The bottom line is that it’s just irreplaceable. In order to start using the tool, you need to login to your Google account and then set up your Google Webmaster Tools account.
How to Add Your Site to Google Webmaster Tools
So, first off you need to login to your Google account. That done, go to https://www.google.com/webmasters/tools/
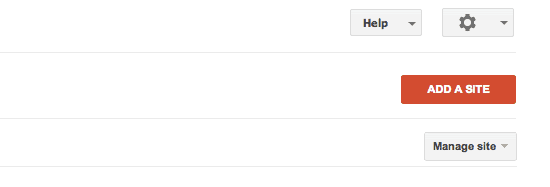
Now just type in your site address and click the ADD A SITE red button.
Before you can manage your site via GWT, you need to verify your ownership. The most simple way would be to just upload an HTML file to your ftp server.
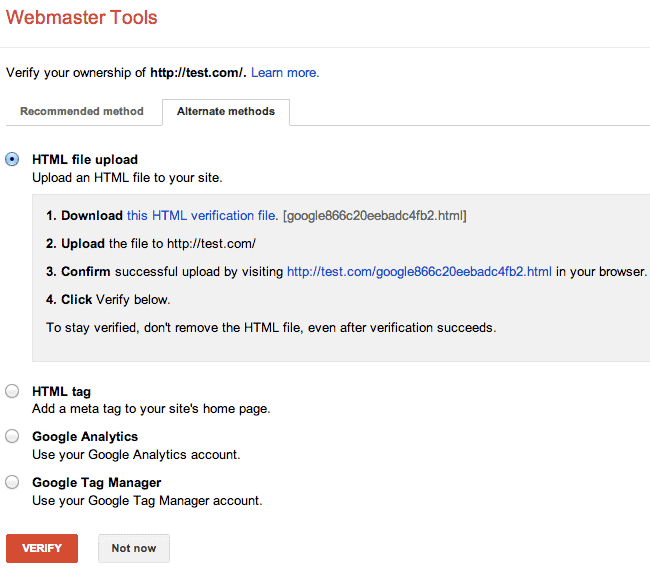
If you don’t know how to do that or you just don’t have access to your server, you should contact your site admin or web hosting provider.
Once the verification HTML file is on your server, just click the verification link in your GWT and click the red Verify button. Once your verification is complete, be sure to keep that HTML file on your server.
Be sure to keep your verification html file on your server at all times because otherwise your Google Webmaster Tools account won’t be able to collect data about your WordPress site performance.
I take it that you’ve verified your account and now you can just login to your GWT account. Just click the name of the site that you’d like to manage. Now you should see a page with a few sections.
Features
Now let’s quickly go through some of the features in your Google Webmaster Tools account.
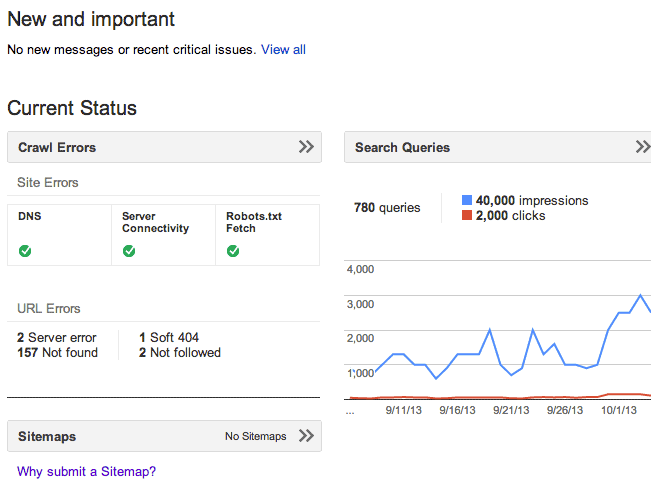
New and important (that’s where you’ll see new messages regarding issues on your site)
The Current status section is divided into:
- Crawl Errors. This section allows to see your site crawl issues at a glance.
- Search Queries. This section shows the amount of search queries, impressions and clicks.
- And the Sitemaps section either shows your site map or suggests submitting it.
Now click the Site Messages option in the left hand menu. That’s where you’ll see all your messages that you’ll get from Google.
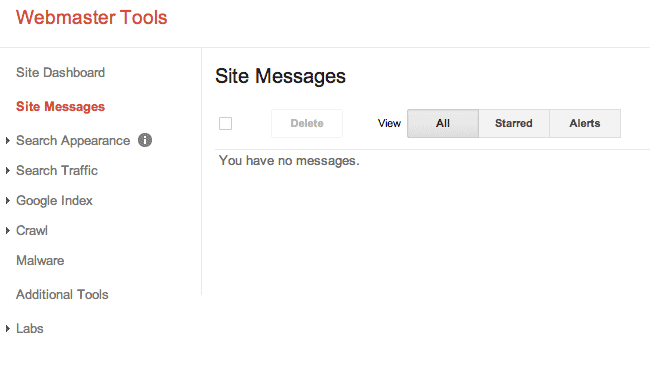
Search Appearance
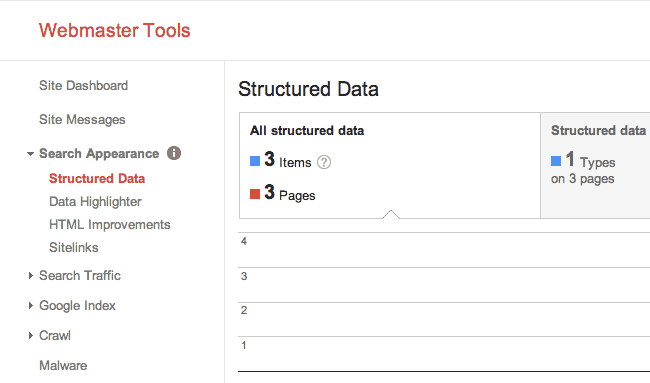
Now expand the Search Appearance option and click Structured Data. That’s where you’ll be able to see your rich snippets if you use them.
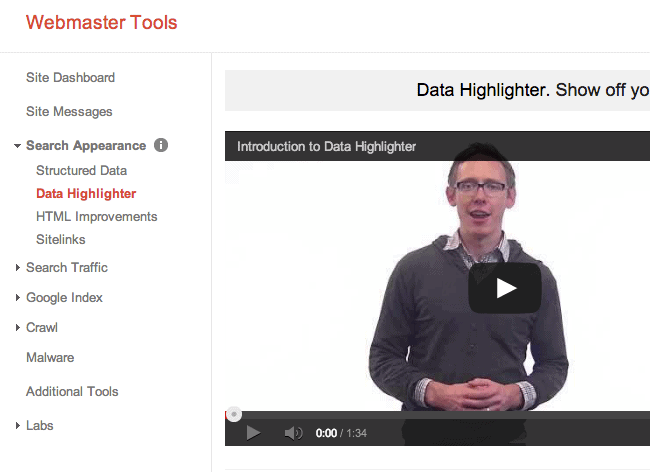
The Data Highlighter feature allows you to tag your site elements with the mouse. Then Google can present your data more attractively, and in new ways, in search results.
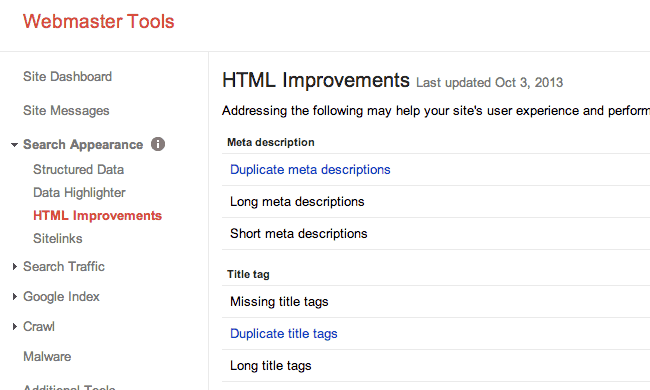
The HTML Improvements section shows you all sorts of issues related to your site’s on-page SEO. That should be your first and foremost resource to check your site for technical SEO issues, such as duplicate meta descriptions, missing title tags and so on.
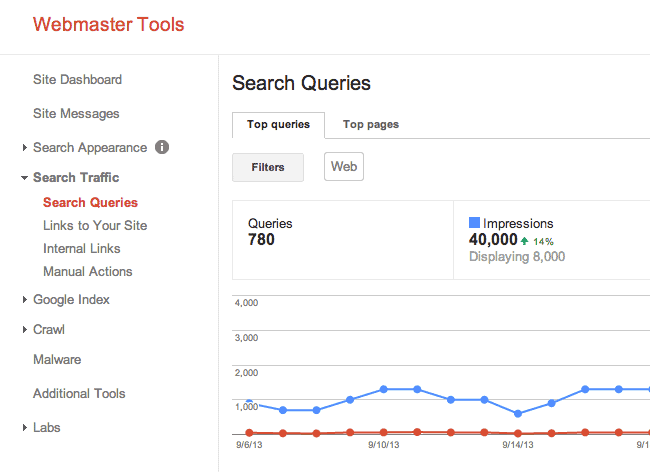
Search traffic
The first option in the section allows you to see top queries and top pages of your site so that you know what kind of search phrases land people on your site and which exactly pages are the most popular ones.
The links to your site section make it possible to see what sites have most links pointing back to your site, what pages they link to, and the anchor texts they use.
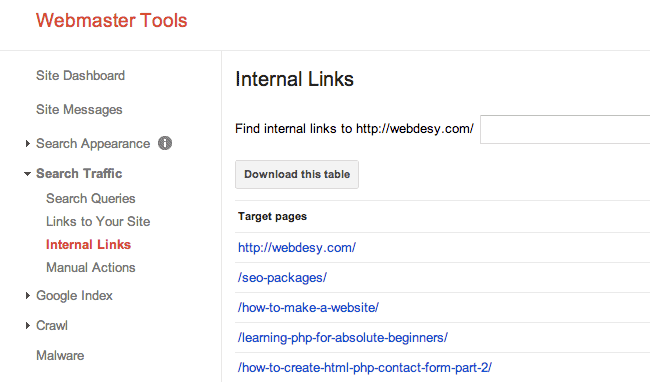
The Internal links section shows pages of your site and the amount of links that point to them from other pages within your site.
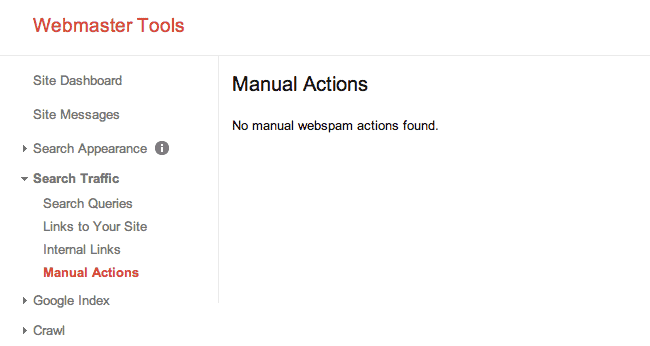
The Manual Actions feature is a pretty brand new one and it shows if Google did any manual actions to your site. If it’s empty, you’re all good.
Google Index
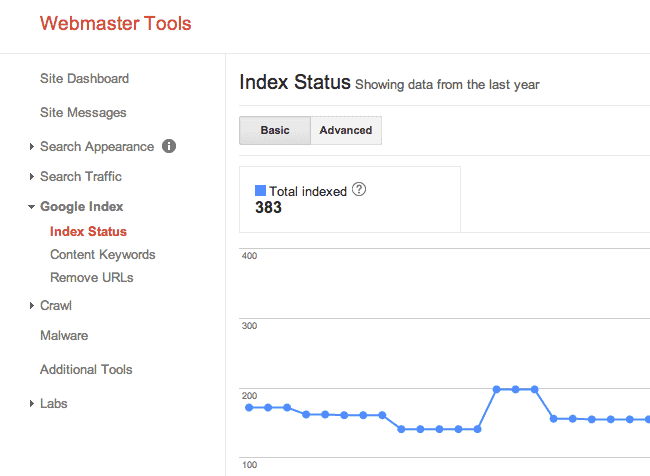
The Index status feature shows the amount of your indexed pages.
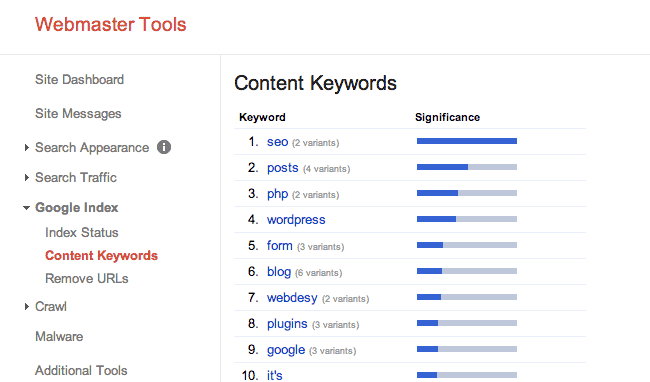
The Content keywords section lists the most significant keywords and their variants Google found when crawling your site. It provides insight into how Google is interpreting the content of your site.
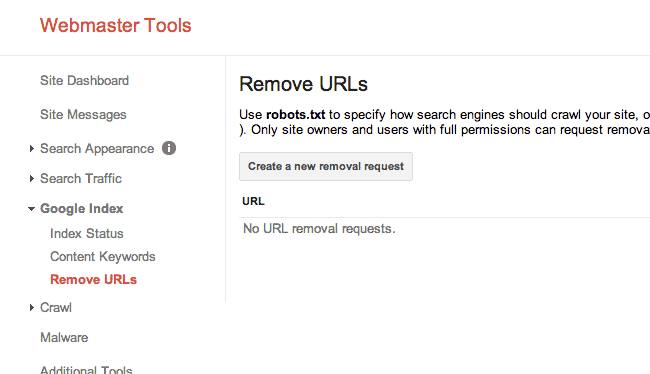
The Remove URLs section allows you to request removal of URLs from Google’s search results.
Crawl
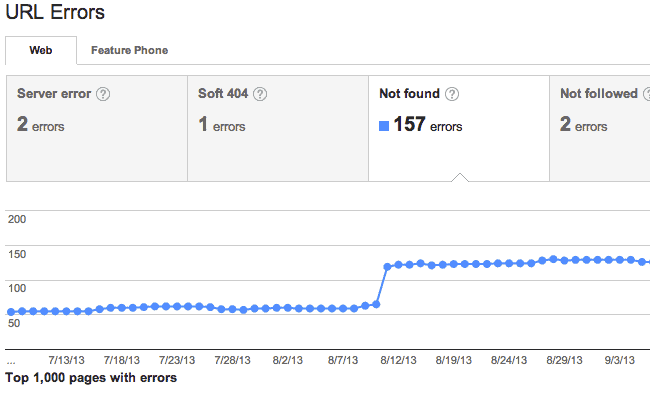
The Crawl Errors section shows you the errors that appeared within the last 90 days. Pay uppermost attention to the not found section because Google is not a big fan of that sort of errors.
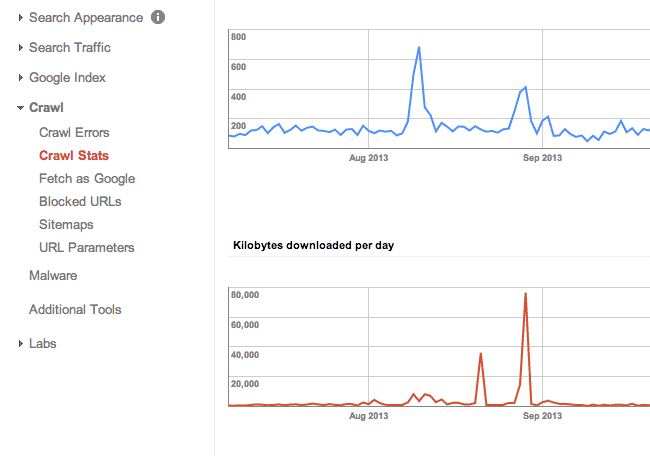
The Crawl Stats section shows pages crawled per day, Kilobytes downloaded per day and Time spent downloading a page (in milliseconds).
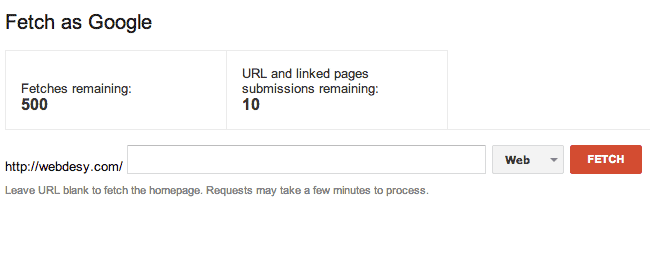
The Fetch as Google section allows you to see if a specific URL is accessible for Google.
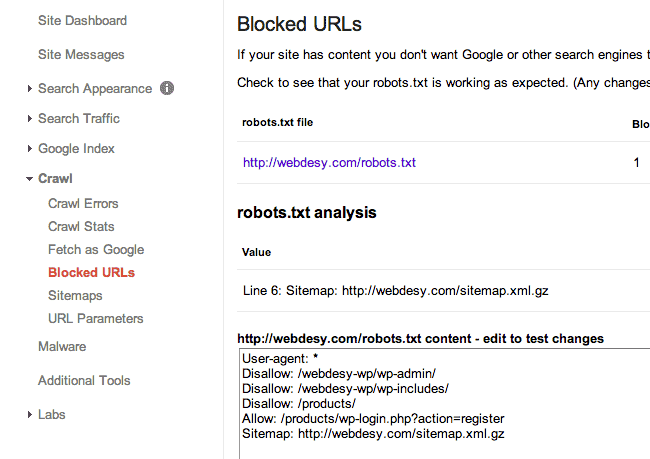
The Blocked URLs section makes it possible to see if your robots.txt file works as expected.
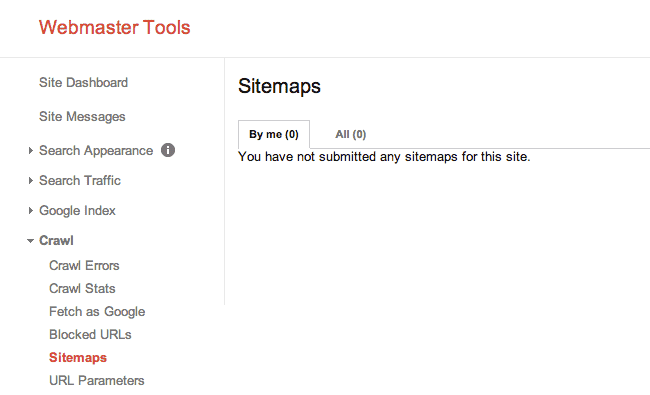
The Sitemaps section is where you can add and test your sitemap.
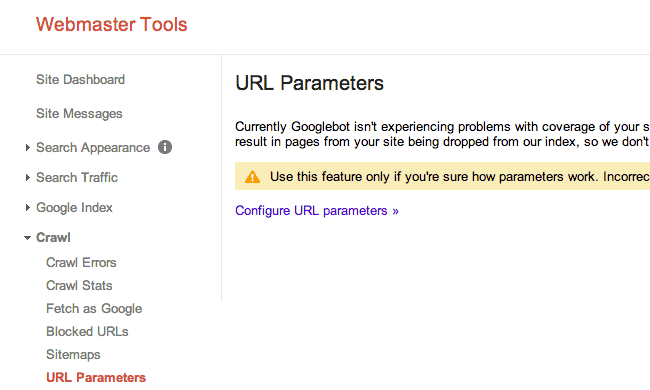
If the URL Parameters option says your site is ok, no need to configure anything in the section. You can just skip it.
Malware
The Malware section is for showing messages if you have issues with malware on your site. You want this section to always be empty.
Additional Tools
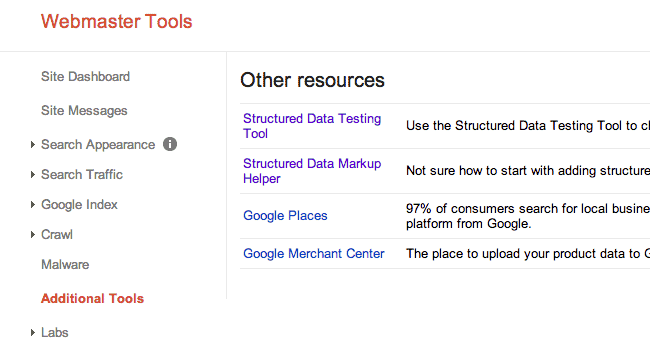
In the Additional Tools section, you have access to:
- Structured Data Testing Tool
- Structured Data Markup Helper
- Google Places
- Google Merchant Center
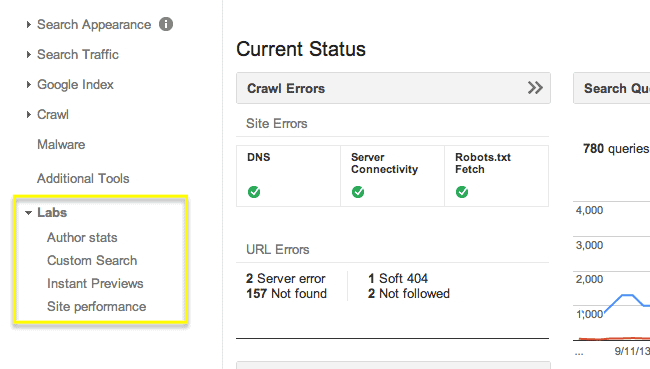
Labs
Webmaster Tools Labs is a testing ground for experimental features that aren’t quite ready for primetime. They may change, break or disappear at any time. So, you can just play around with some tools available.
Bottom Line
As you could see for yourself, Google Webmaster Tools offers a plethora of crucial features some of which you won’t find elsewhere. That’s why you need to connect your site to the tool first thing in the morning after you’ve launched your site to the outer web.
Having taken a glance at Google Webmaster Tools, which of its features do you consider the most useful one and why so? 🙂


