We’ve already covered the topic of installing a local server on a PC and since I don’t want to be one of those who disses Mac users we’re going to learn how to setup a server on a Mac (we’ll use MAMP for that). MAMP stands for Macintosh, Apache, MySQL, and PHP. As everything on Mac, it’s gonna be really easy and you’re not supposed to have a Ph.D in any discipline to cope with that. Now, why bother at all? Well, you may need a local server on your Mac if you want to test-drive some WordPress plugins or widgets. Alternatively, you may want to tweak some settings on your WordPress but you don’t really feel comfortable doing that on a live site.
In case you’re already running a SaaS business, you may want to make sure that your SaaS onboarding process is not holding you back.
By the way, you can check awesome Drupal code snippets if you want to install a local server for running Drupal on your local machine (computer).
Before we actually get started, let me explain why you need specifically MAMP on your Mac but not something else:
- it’s user-friendly (easy to install and use)
- it’s compatible with Mac (duh!)
- it’s exactly what the doctor ordered (no redundant stuff you don’t actually need)
So, let’s do it.
Screencast: How to Setup MAMP on Your Mac
For starters, check out the video that explains how to get MAMP on your Mac. If you’re not sure about something, don’t hesitate to leave your questions in the comments.
Step-by-Step Instructions on MAMP Installation
- To get the ball rolling, you need to go to mamp.info
- Once you’re on the site, you need to just click the large logo with an elephant
- Now you copy of MAMP should start downloading.
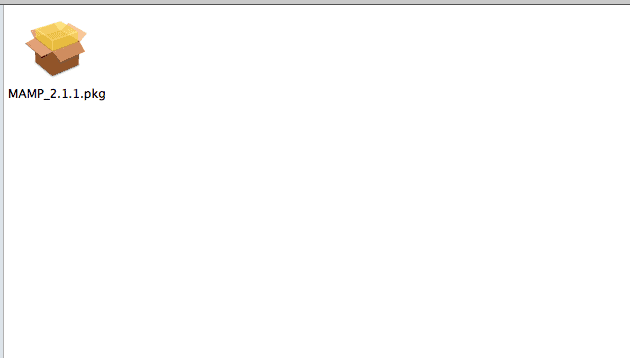
- When your download is complete, double-click the MAMP .pkg file to unzip it and start installing
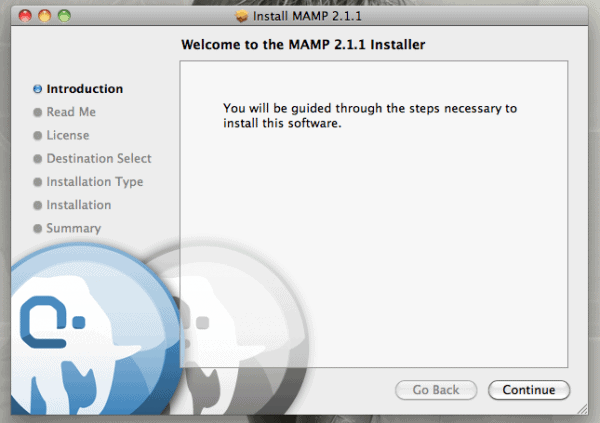
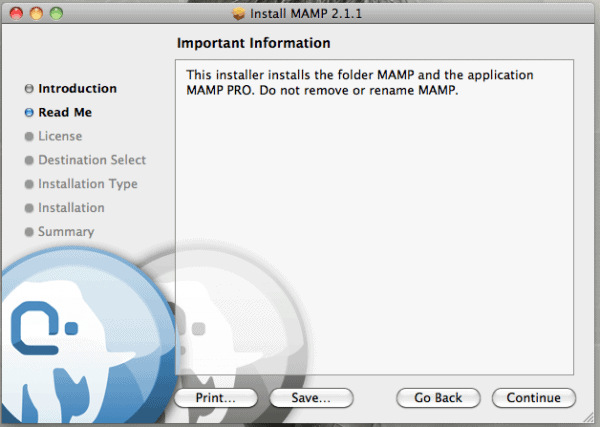
- That done, just click the Continue button in the dialog window that appears
- The next dialog box (window) will explain you what it’s about to install, just click Continue if you agree
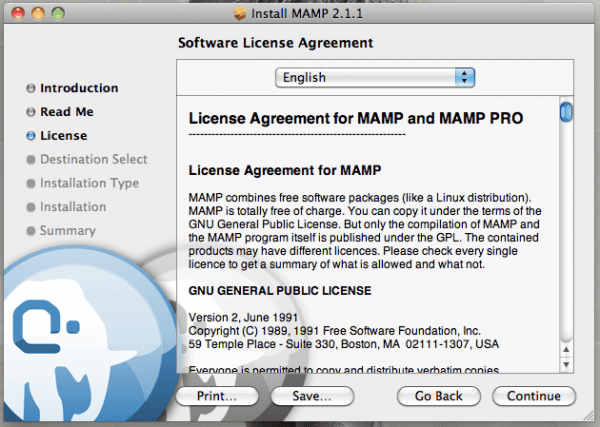
- Now you need to read the Software License Agreement, make sure that it’s Ok with you and click Continue if it’s the case
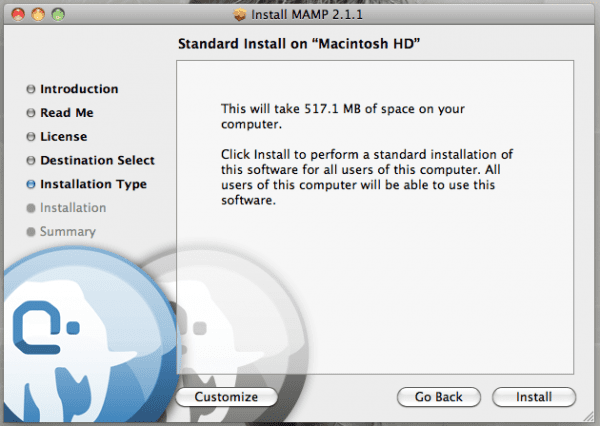
- And before you start the actual server installation you can see the info about what exactly will be installed on your Mac and how much space it’ll take up
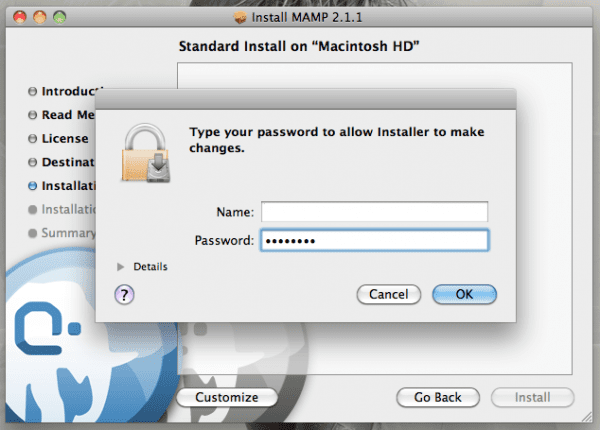
- Once you click the Install button, it’ll prompt you to enter your Mac login and password to make sure that you’re authorized to install software on your Mac (if you’re not, stop using the Mac that does not belong to you! :))
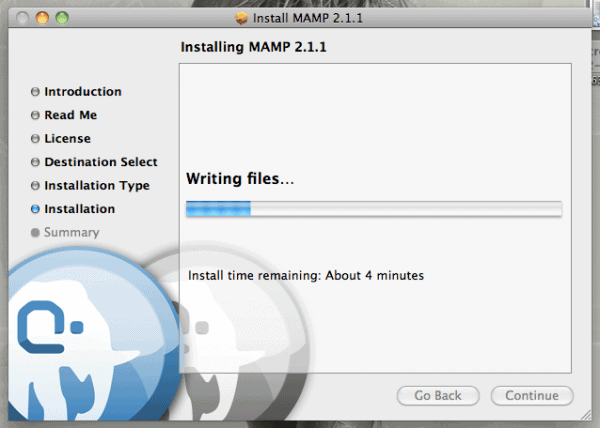
- And now the actual installation should finally start
- You should be good to go within 5 minutes (as you can see on the screenshot above)
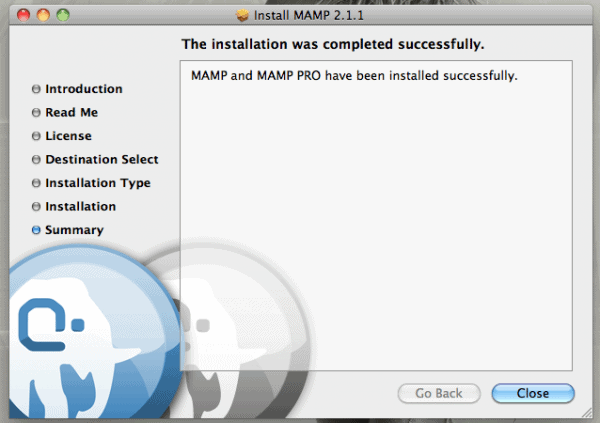
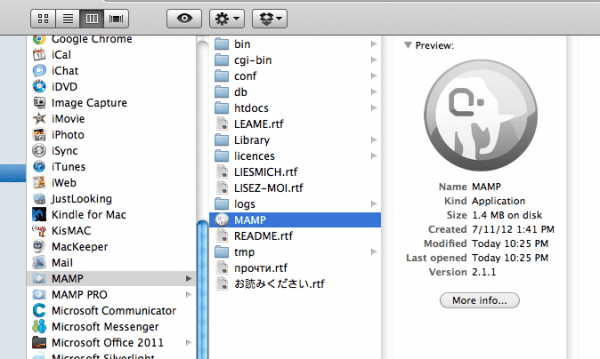
- With that done, just close the window and you can go to your Applications to run the MAMP you’ve installed a minute ago. Just click on the big elephant icon in the Applications => MAMP folder
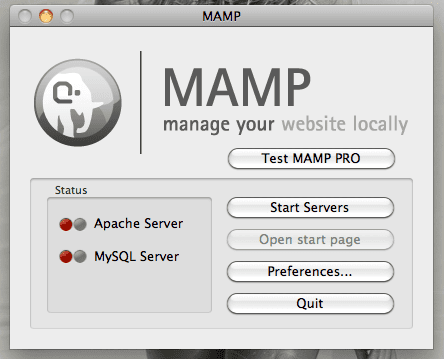
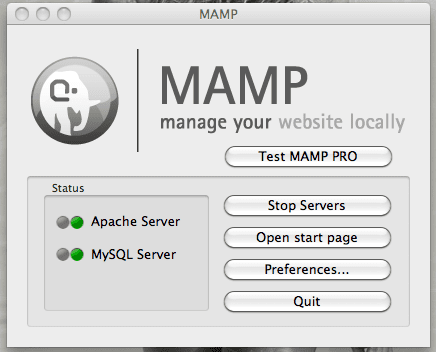
- Once you can see your MAMP server dialog window, just click the Start Servers button to get your local server started
- When you see both the Apache Server and MySQL Server dots get green, you’re up and running with your MAMP local server. You’ve installed it! Damn, you’re AWESOME
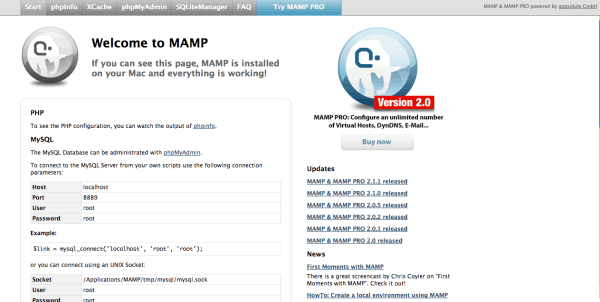
- Once your servers got started, you (your browser) will be redirected to http://localhost:8888/MAMP/?language=English where you’ll be able to see basic info about your server that you’ve installed locally
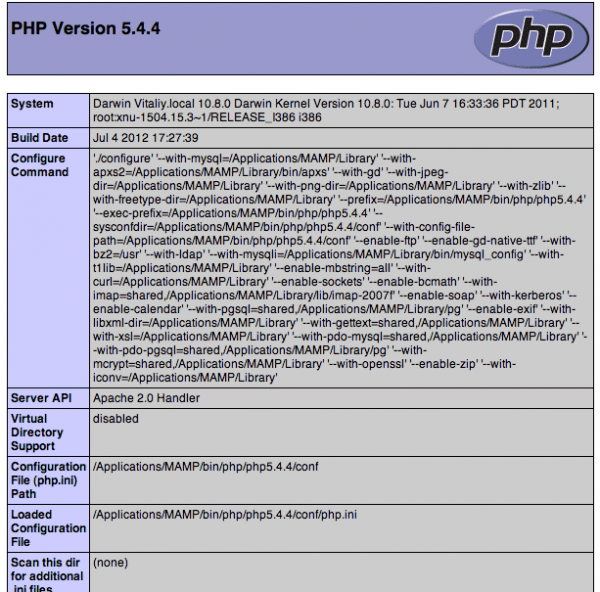
- If you want to see more specific and comprehensive info about your server, you can click the phpinfo link
- Now you can run your .PHP files, you just need to put them in the htdocs folder.
In Conclusion
And that’s about it. As you could see for yourself, it’s not rocket science at all, but it surely requires a bit of patience. Now you can install any CMS (like WordPress, Joomla, Drupal and the like) or just run php files for educational purposes if you happen to be learning PHP at the moment. In either case, it’s really convenient to have a real life server at your disposal.
Should you have any questions regarding this tutorial, by all means, let me know in the comments.

